
I’ve accumulated quite a collection of accessories for my DJI Action 2 (find the full review here). Some of which are more useful in more situations than others. Some are not as useful as I thought.
So, here is what I use regularly when capturing bike rides and what has helped me improve my footage and keep the camera safe at the same time.
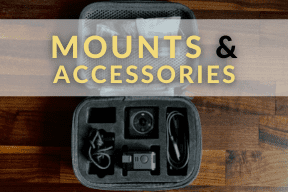
I compiled a cheat sheet, for a quick lookup of the exact gear I use most often:
Now, let’s get down to why those get used the most.
Chest mounts for the DJI Action 2
Let’s be honest. Chest mounts are one of the most immersive points of view for the viewer, that hasn’t been there and hasn’t seen or felt what you have. It captures the intensity of the moment and the movement of limbs and bike gives perspective to what’s going on.
The magnetic lanyard is a nice innovative addition, but not usable for biking because of the upper body position. It would point down at the frame and knees. The camera needs to be at a 45° angle upward to capture the trail when riding. Also, the lanyard is “mounted” to the shirt, which is flapping around when in riding position (upper body bent forward).
There is no official DJI chest mount available, but the feet of the magnetic adapter fit all the GoPro accessories out there. So the GoPro Chesty V2.0 is actually the best chest mount for the DJI Action 2.
Had the original Chesty before that, and fundamentally they are the same. One won’t make better footage than the other. But the new V2.0 is definitely more comfortable to wear all day due to its padded chest platform. It also comes with their current sliders, which come with improved rubber grommets, that eliminate rattling sounds and don’t fall out when detaching.
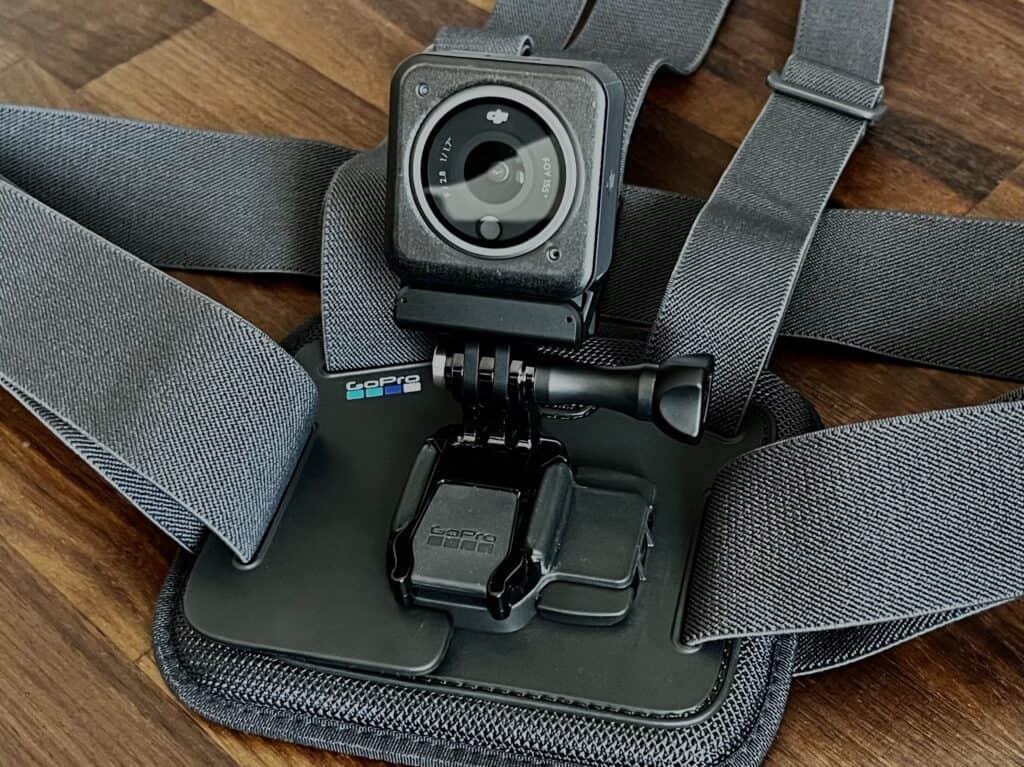
As you can see in the picture, the center platform actually detaches into two parts, where each of the shoulder and torso straps attaches to one half. This is what really separates GoPro’s chest mount from other manufacturers and the OG Chesty, where one shoulder strap actually detaches, which makes it unwearable when riding while it’s opened. For a visual representation, check out this video by TimFromWales.
As far as alternative chest mounts go, the TELESIN Chest Strap Mount is one of the better ones, also featuring a padded platform, but comes with the dangling straps issue. It also has an additional rear mounting option to make up for it. So there’s that.
Adhesive mounting pads
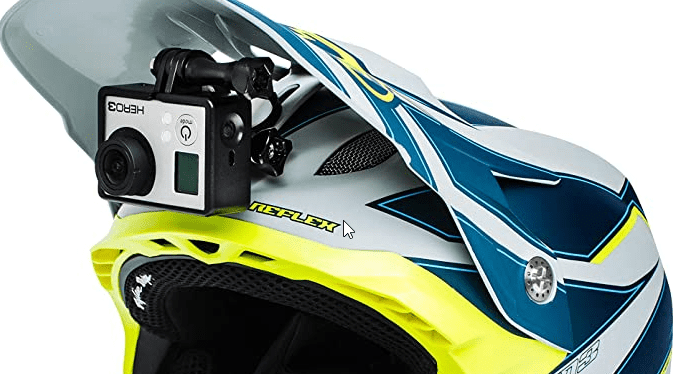
The easiest, most reliable, proven way to mount an action cam to your body has always been the good old adhesive mount. It sticks to helmets, bikes, and any other gear you might want to involve. Most of the time they’re used for helmet mounts, that withstand crashes, weather, and careless transport.
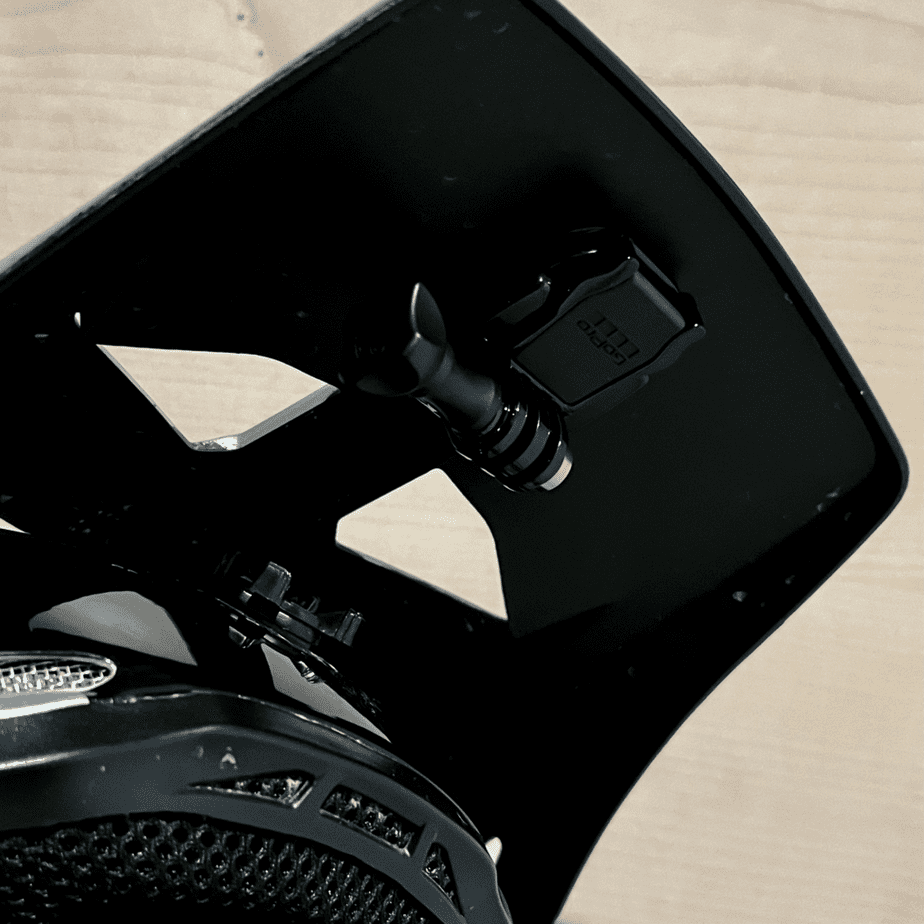
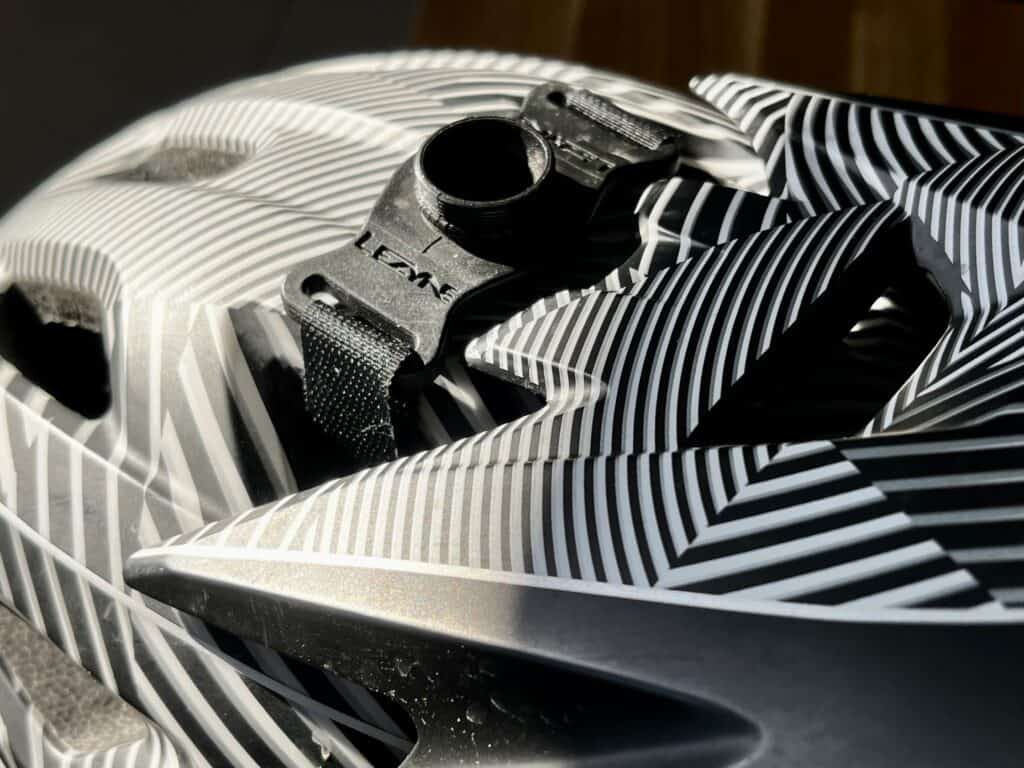
I got lucky that both my MTB helmet visors are flat in the middle so standard adhesive pads stick well to them. The DJI mount kit was the first one I got. I like their twisting mounting mechanism but disliked their height. So the “GoPro Grab Bag” of mounts has become my go-to. It’s above any other 3M adhesive slider mount for exactly two reasons:
That flat slider is my go-to for mounting under the visor. It keeps the height minimal and keeps the camera out of my vision. And the rubber grommets on each of the clips reduce noise and prevent unintentional dismounts. That’s why I went with the GoPro kit for adhesive mounts.
(A picture of the DJI mount on my other helmet visor is used further down.)

Helmet mounts
Apart from sticking a camera mount on top or below the visor, there are also alternatives for helmets with uneven surfaces:
Chin mounts
… are a great, universal fit alternative if your helmet doesn’t provide a level, flat area in the middle. There are lots of branded chin mounts available, but actually few distinct manufacturers.
One original design comes from TELESIN, who also makes some accessories for DJI. Their chin mount is one of the better designs I could find, featuring rubber pads and folding material to conform to different variations of full-face helmets – for mountain biking and motorcycles.
Below visor action cam mounts
Another alternative for visors that are not flat. This one sticks to the front of the helmet beneath the visor but provides the same angle. The only company making such things, that I could find, are Ninja Mounts. And sadly, these seem to be only available in Europe.
Helmet vent strap
If none of the above helmet mounts work for you, there is still one last option: straps through the ventilation holes. I would not recommend this solution over the others as it doesn‘t sit as tightly and moves a little. But it allows to film with a helmet cam even on half shell helmets.
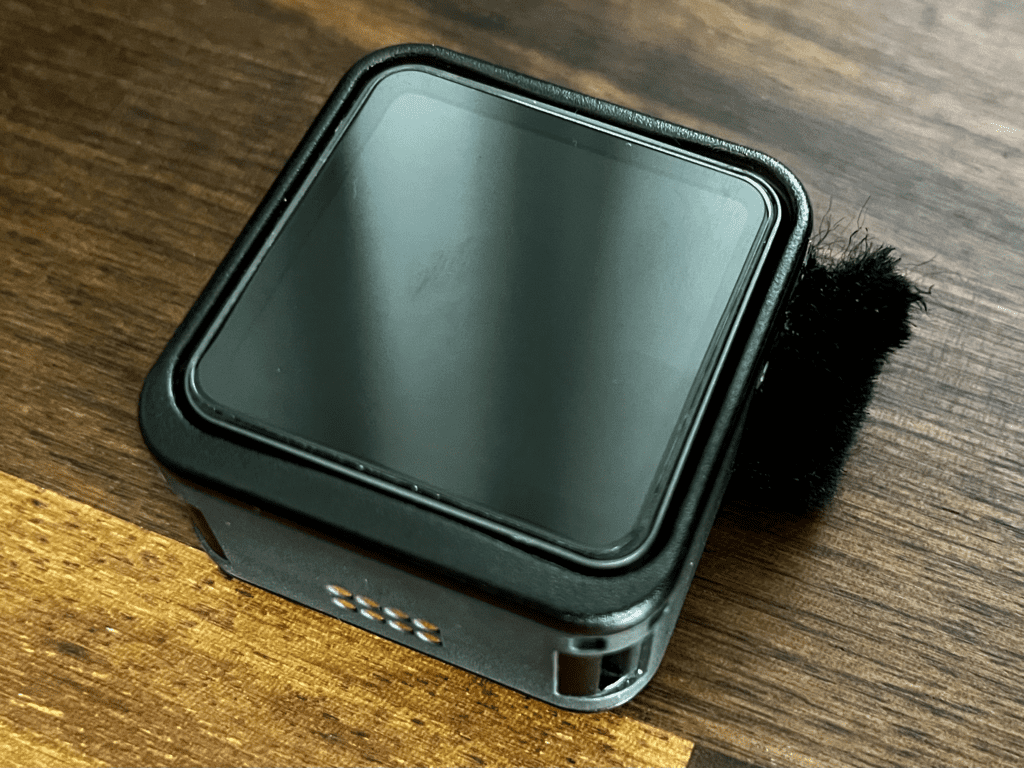
Magnetic protective case
I dropped it a few times now but was never worried for a second. The original magnetic case sits tightly with good coverage and is a fairly thick plastic shell that takes dents so your camera doesn’t.
When I got the camera, DJI had been running a promo to provide every customer with a magnetic protective case, which has a rugged look and feel. This provides me the confidence that the $ 400 camera on my head is going to be fine so I can shut it out of my mind and focus on my riding. It’s a relatively minor investment and can be had from third-party brands at half the price sometimes.
Screen & lens covers
Screen protectors may even save you more money, as the screen and camera lens are not replaceable on the DJI Action 2. Apart from crashes, any significant damage to this rugged camera is going to come from long-term use, battery charging cycles and scratched camera lenses and screens. That’s why I store the cam below 80% battery and protect the lens and screen surfaces. And successfully so far even after some hits.
Common screen protectors for a couple of bucks are a simple insurance policy. Additionally, there is also real insurance in the form of the official “DJI Care”, which I didn’t go with since I never managed to wreck an action cam until now. Preventative measures are where my attention is.
Wind noise reduction
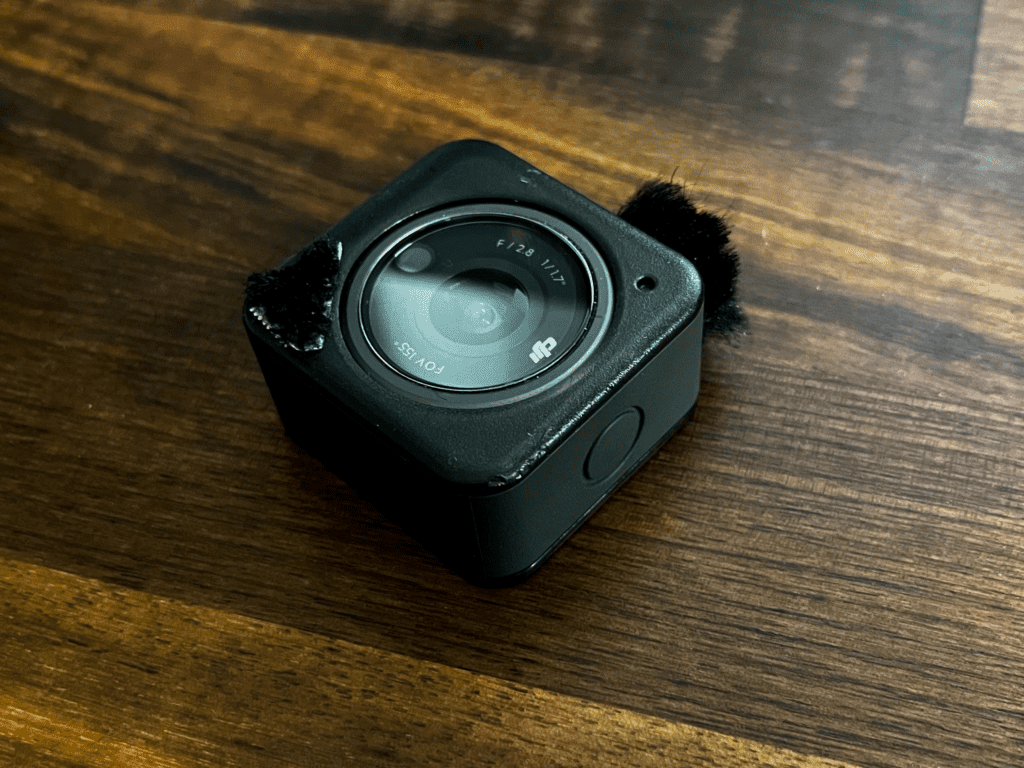
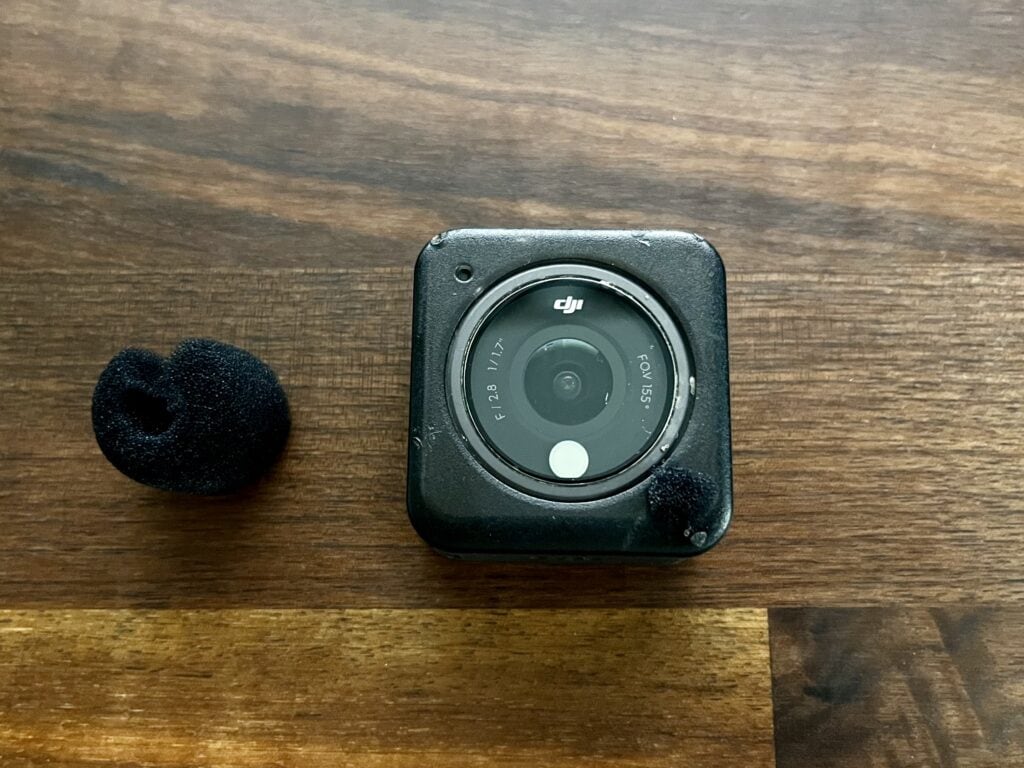
One dead-easy way to improve sound quality on the Action 2 is a dead cat. That’s what’s used on professional microphones for wind protection. Just get a regular-sized one, cut off a tiny piece and place it over the single forward-facing microphone on the camera module in the bottom right corner.
An external camera case is highly recommended if you do this modification. One, it’s easier to do without any duct tape or glue on the premium aluminum housing. The complete configuration with the dual screen has in fact three to four microphones. One on the camera and two on the battery module, or three on the screen module.
By the way, it’s neither dead nor a cat. You may have seen one on the news when reporters are outside in bad weather. The sometimes furry coat in their mics is what’s called a dead cat and the look of it is what led to the name.
Carry case
Keep all that stuff organized in one place and easy to throw in your backpack or car with a travel bag.
I got the compact, waterproof case from Skyreat, which I’m happy with so far. It’s also one of the most well-priced ones and for the price, I didn’t expect such good quality. The leather-like texture outside and the exact slots inside surprised me.

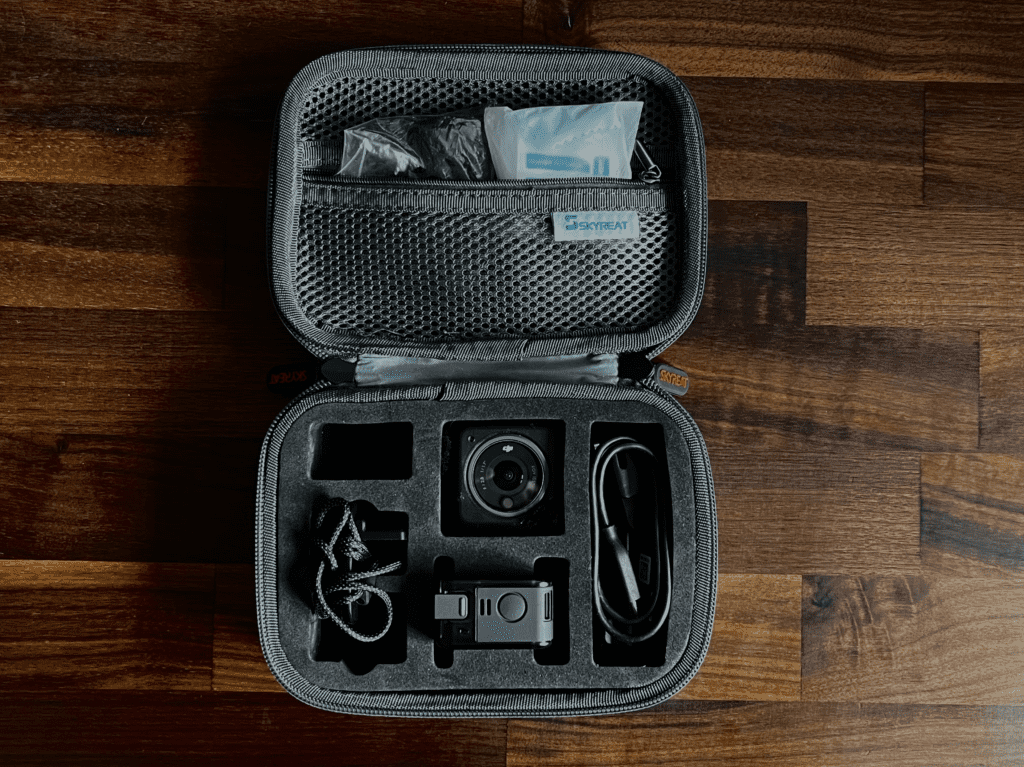
These cases are usually not designed for a protective case on top of the camera. I solved this with mine by using different compartments or letting the battery sit sideways.
Storage expansion (SD Card)
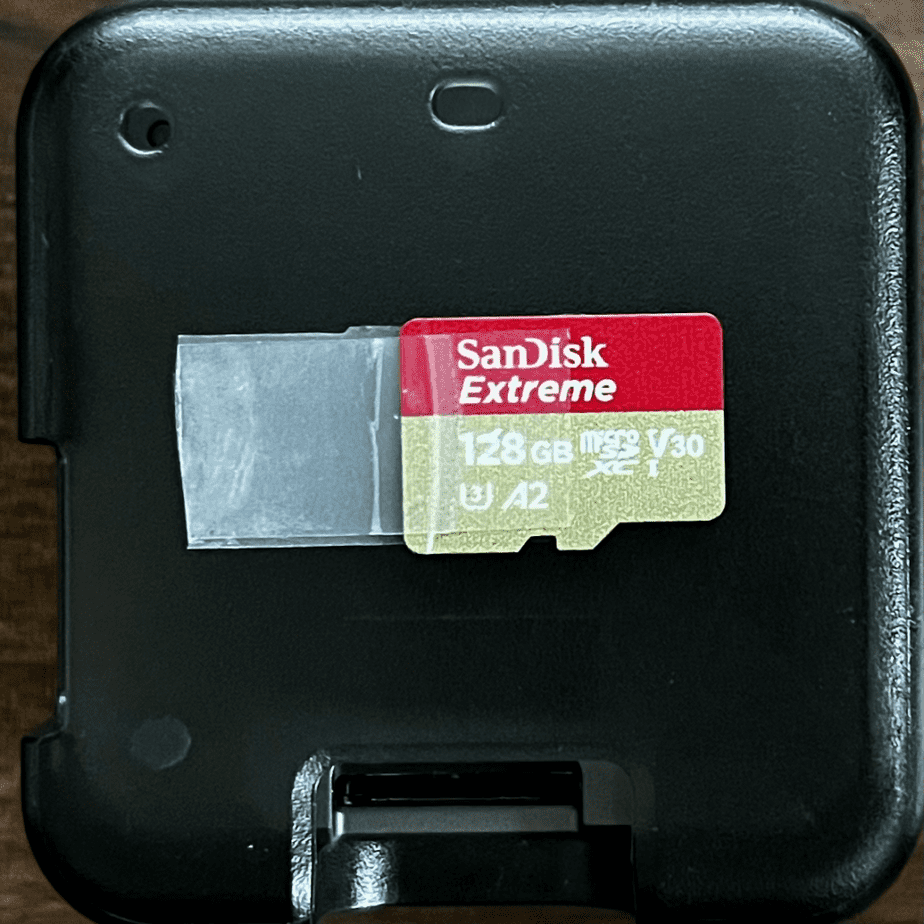
Even tho the camera module itself has no SD-card slot, you’ll need to bring one in your battery pack or screen module if high-resolution footage is on your plans.
Since it’s unlikely to mount the Action 2 as the full tower on your body, you likely won’t record straight to the SD-card much. Still, decent read and write speeds are highly recommended for 4K footage, even if it’s for data transfer within the camera or any other workflow to get the footage edited.
Optional: Additional magnetic mount
One for the helmet and one for the chest rig.
The idea is to take full advantage of the magnetic mounting system of the Action 2. The huge benefit of it is that you can take off the camera, while the mount itself stays in place at the perfect angle. This is incredibly helpful for biking, where the upper body is not upright most of the time. So finding the right angle, that shows the trail or street, the handlebar, and the horizon at the same time is not easy and usually takes a little trial and error.
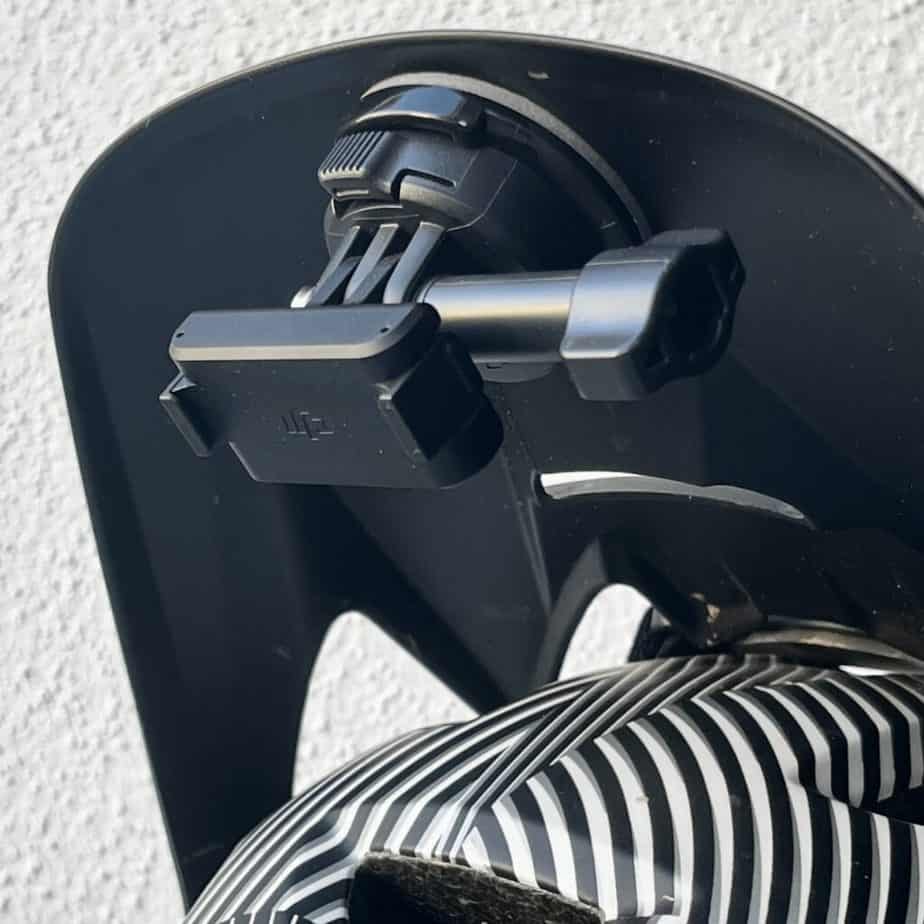
These things aren’t exactly cheap tho, even from third-party vendors. The official DJI magnetic mount is certainly one of the strongest. There are also ones with a port for the charger cable and foldable feet like from SmallRig.
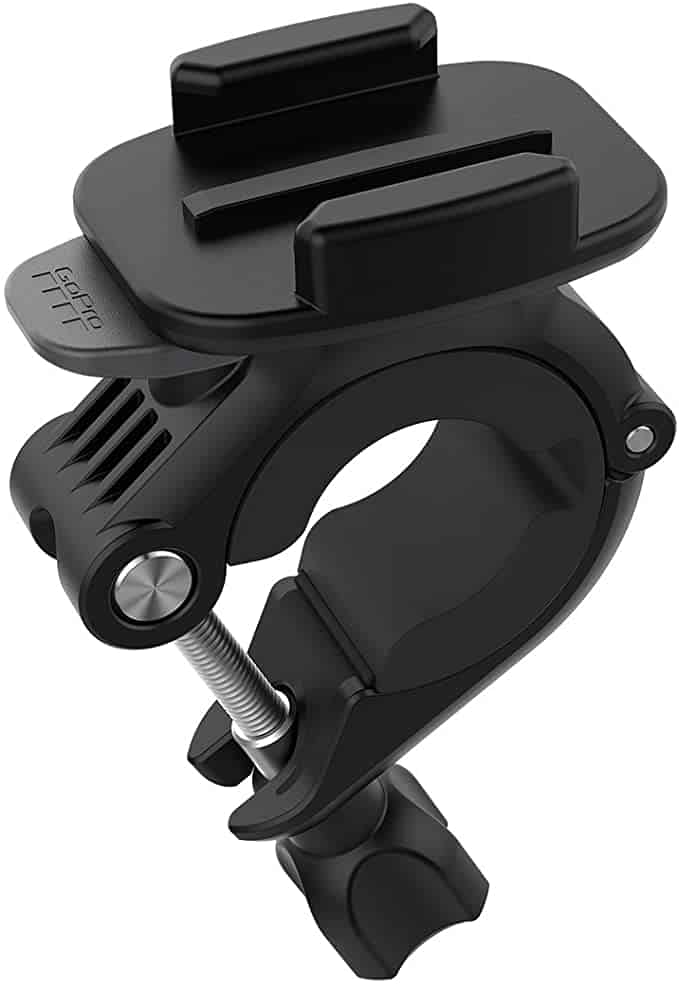
Optional: Handlebar mount
It’s an unusual, interesting camera perspective, but probably won’t be your primary angle. That’s why this one is optional. Mounting it forward misses one important point of reference for your viewer: the handlebar or cockpit. A helmet or chest mount is more immersive in my opinion.
But they can’t show off you, the rider. Mounting a handlebar mount backward is the only method, that sits securely and doesn’t require wearing a long, clumsy pole on your helmet. Again, there are lots of vendors out there, but very few got rubber inserts between the clamp and the handlebar, like the GoPro clamp has, to prevent damage and ensure a stable fit.
