
After filming over a hundred POV mountain bike videos, there are only a couple of accessories I personally truly find valuable.
So, this is a list of – in my opinion – the best, most useful GoPro 11 accessories for biking.
Many of the accessories I use and much more are included in GoPro accessory kits. If you really want to dive in deep, these can be a money-saver. The best one in my opinion is the 72-part kit from HSU. They use their own product designs, instead of just branding existing stuff.
Chest mounts for the GoPro 11
Chest mounts are one of the most immersive points of view. It allows the viewer to get a glimpse of what it was like for you, even if they haven’t been there and experienced what you as the creator have. It captures the intensity of the moment, the bike moving under you, and how you handle the terrain to give perspective to what’s going on.
There are countless chest mounts for action cameras out there, and there is one distinct feature that lifts one above the rest. Let’s cut straight to the answer!
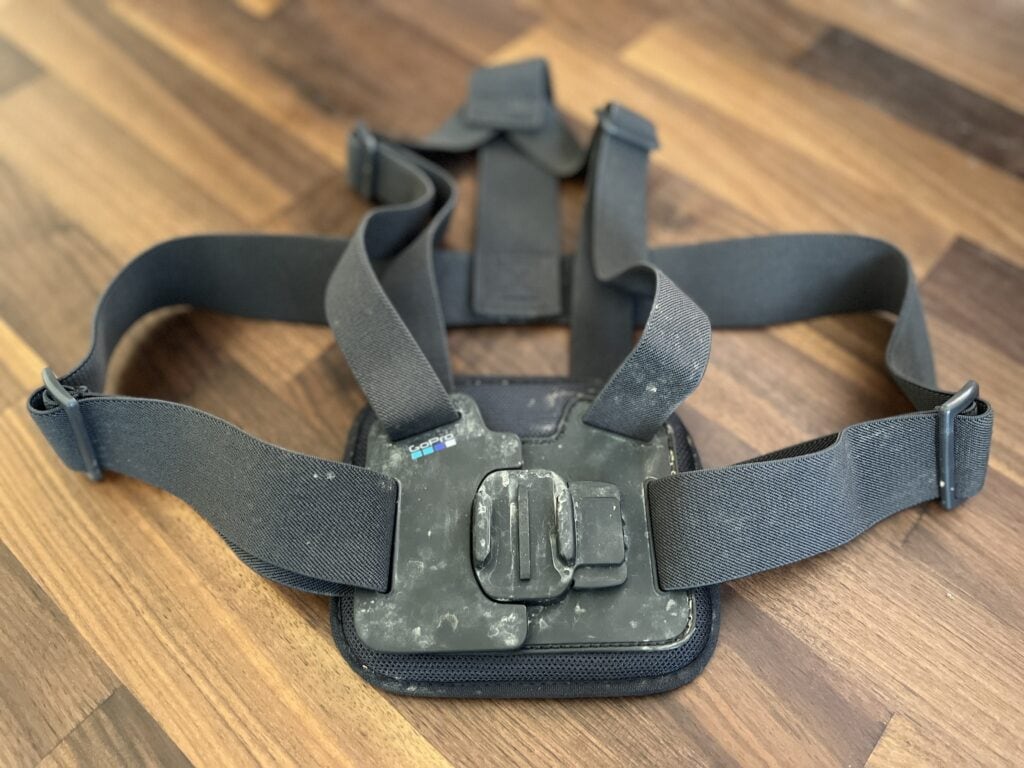
From my experience, the GoPro Chesty V2.0 is actually the best chest mount for the GoPro Hero 11.
I’ll explain why.
While none of the many chest rigs is particularly better or worse for the actual filming, what really separates GoPro’s chest mount from other manufacturers is the single buckle closure design. It can be worn even when it’s open. Additionally, it’s far easier to put on! For a visual representation of what I’m talking about, check out this video by TimFromWales:
It’s definitely comfortable to wear all day due to its padded chest platform. It also comes with the standard GoPro sliders with rubber grommets, that eliminate rattling sounds, that plague many chest rigs like the popular “Stuntman”.
Two of the third-party alternatives worth mentioning are the TELESIN Chest Strap Mount, which has an additional rear mounting option, and the HSU Chest Harness with a tall plate minimizing wobble and an angled mount so you never screw up your angle again.
Magnetic “SnapMount” for MTB
The other one is the magnetic “SnapMount”, which is simple to use but has its own glaring issues. It simply gets to its limits on rough trails and can result in unstable footage since it’s only secured to the jersey, which wiggles around side to side.
SnapMount is not suitable for mountain biking because it produces shaky footage on rough trails. Additionally, the camera gradually changes its angle due to the vibrations. Still, the magnets would be strong enough to hold the camera in place securely.
Helmet Mounting Options
Chinbar mount
Helmet chin mounts combine the best of both worlds from chest and helmet visor mounts: an angle to capture the bike and head movement that always looks towards the upcoming piece of trail.
They are also a great, universal method for any full-face helmet or if your helmet doesn’t provide a level, flat area in the middle of the visor. There are lots of branded chin mounts available, but actually few distinct manufacturers.
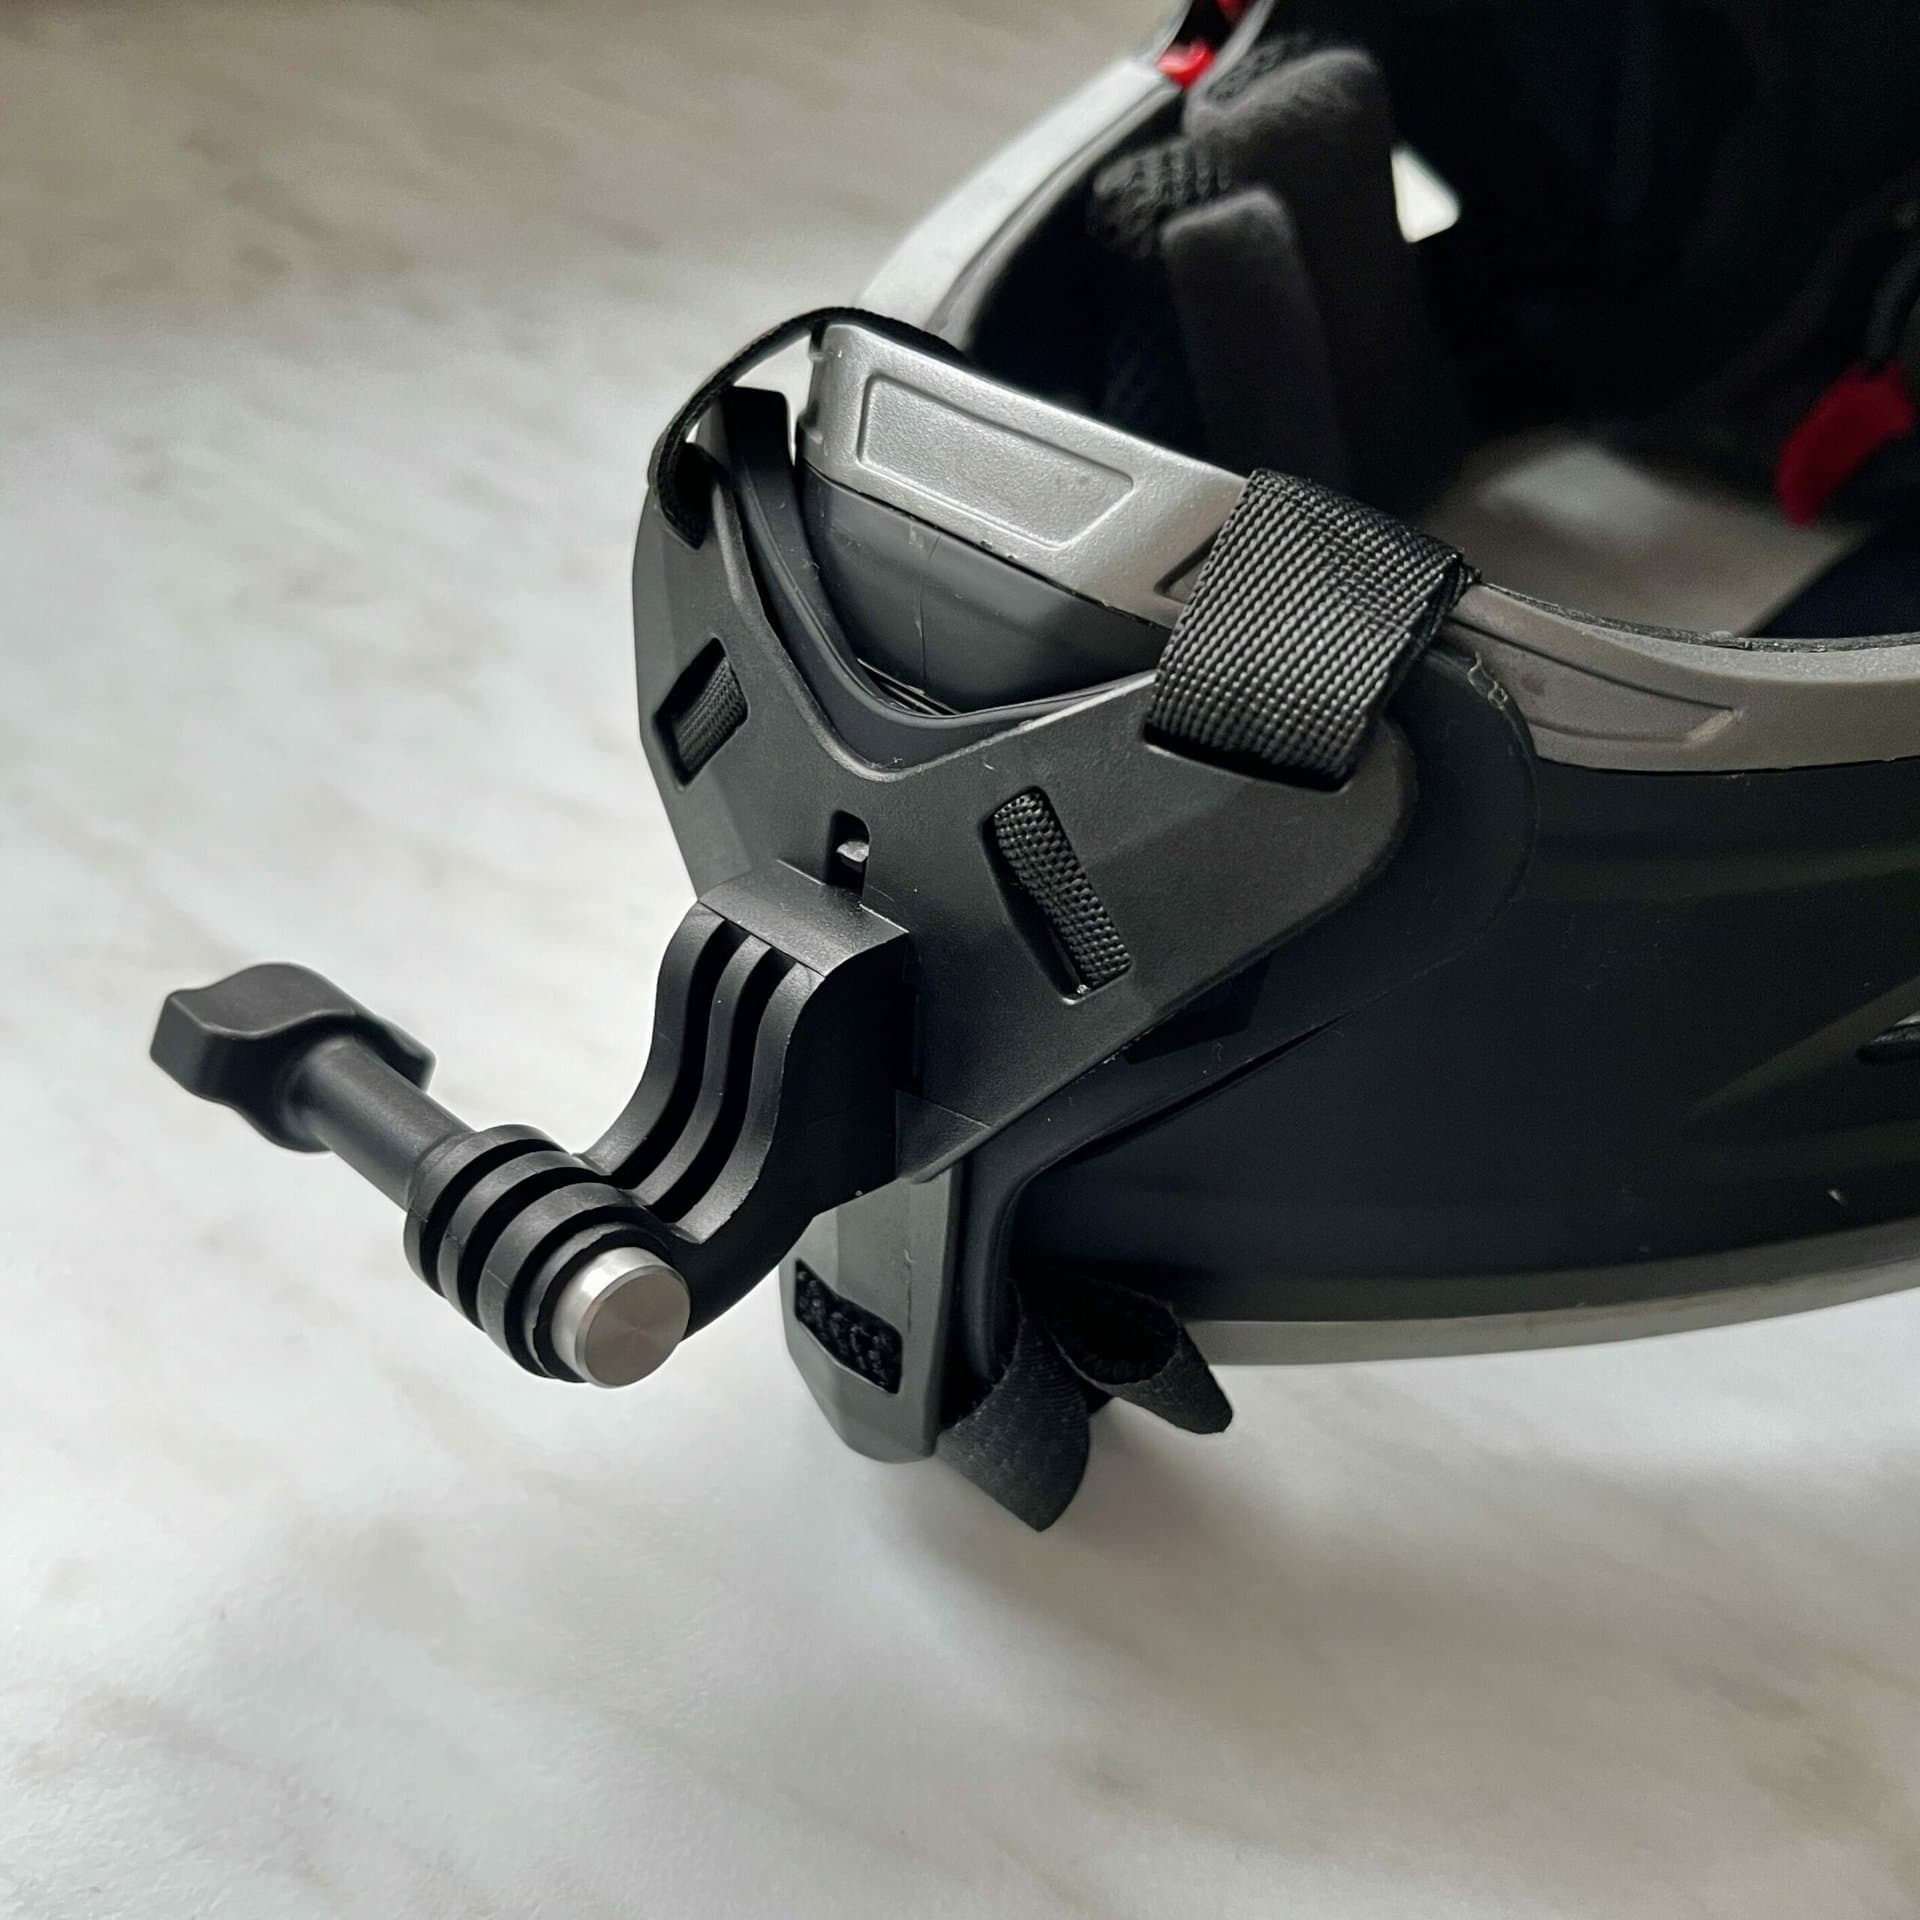
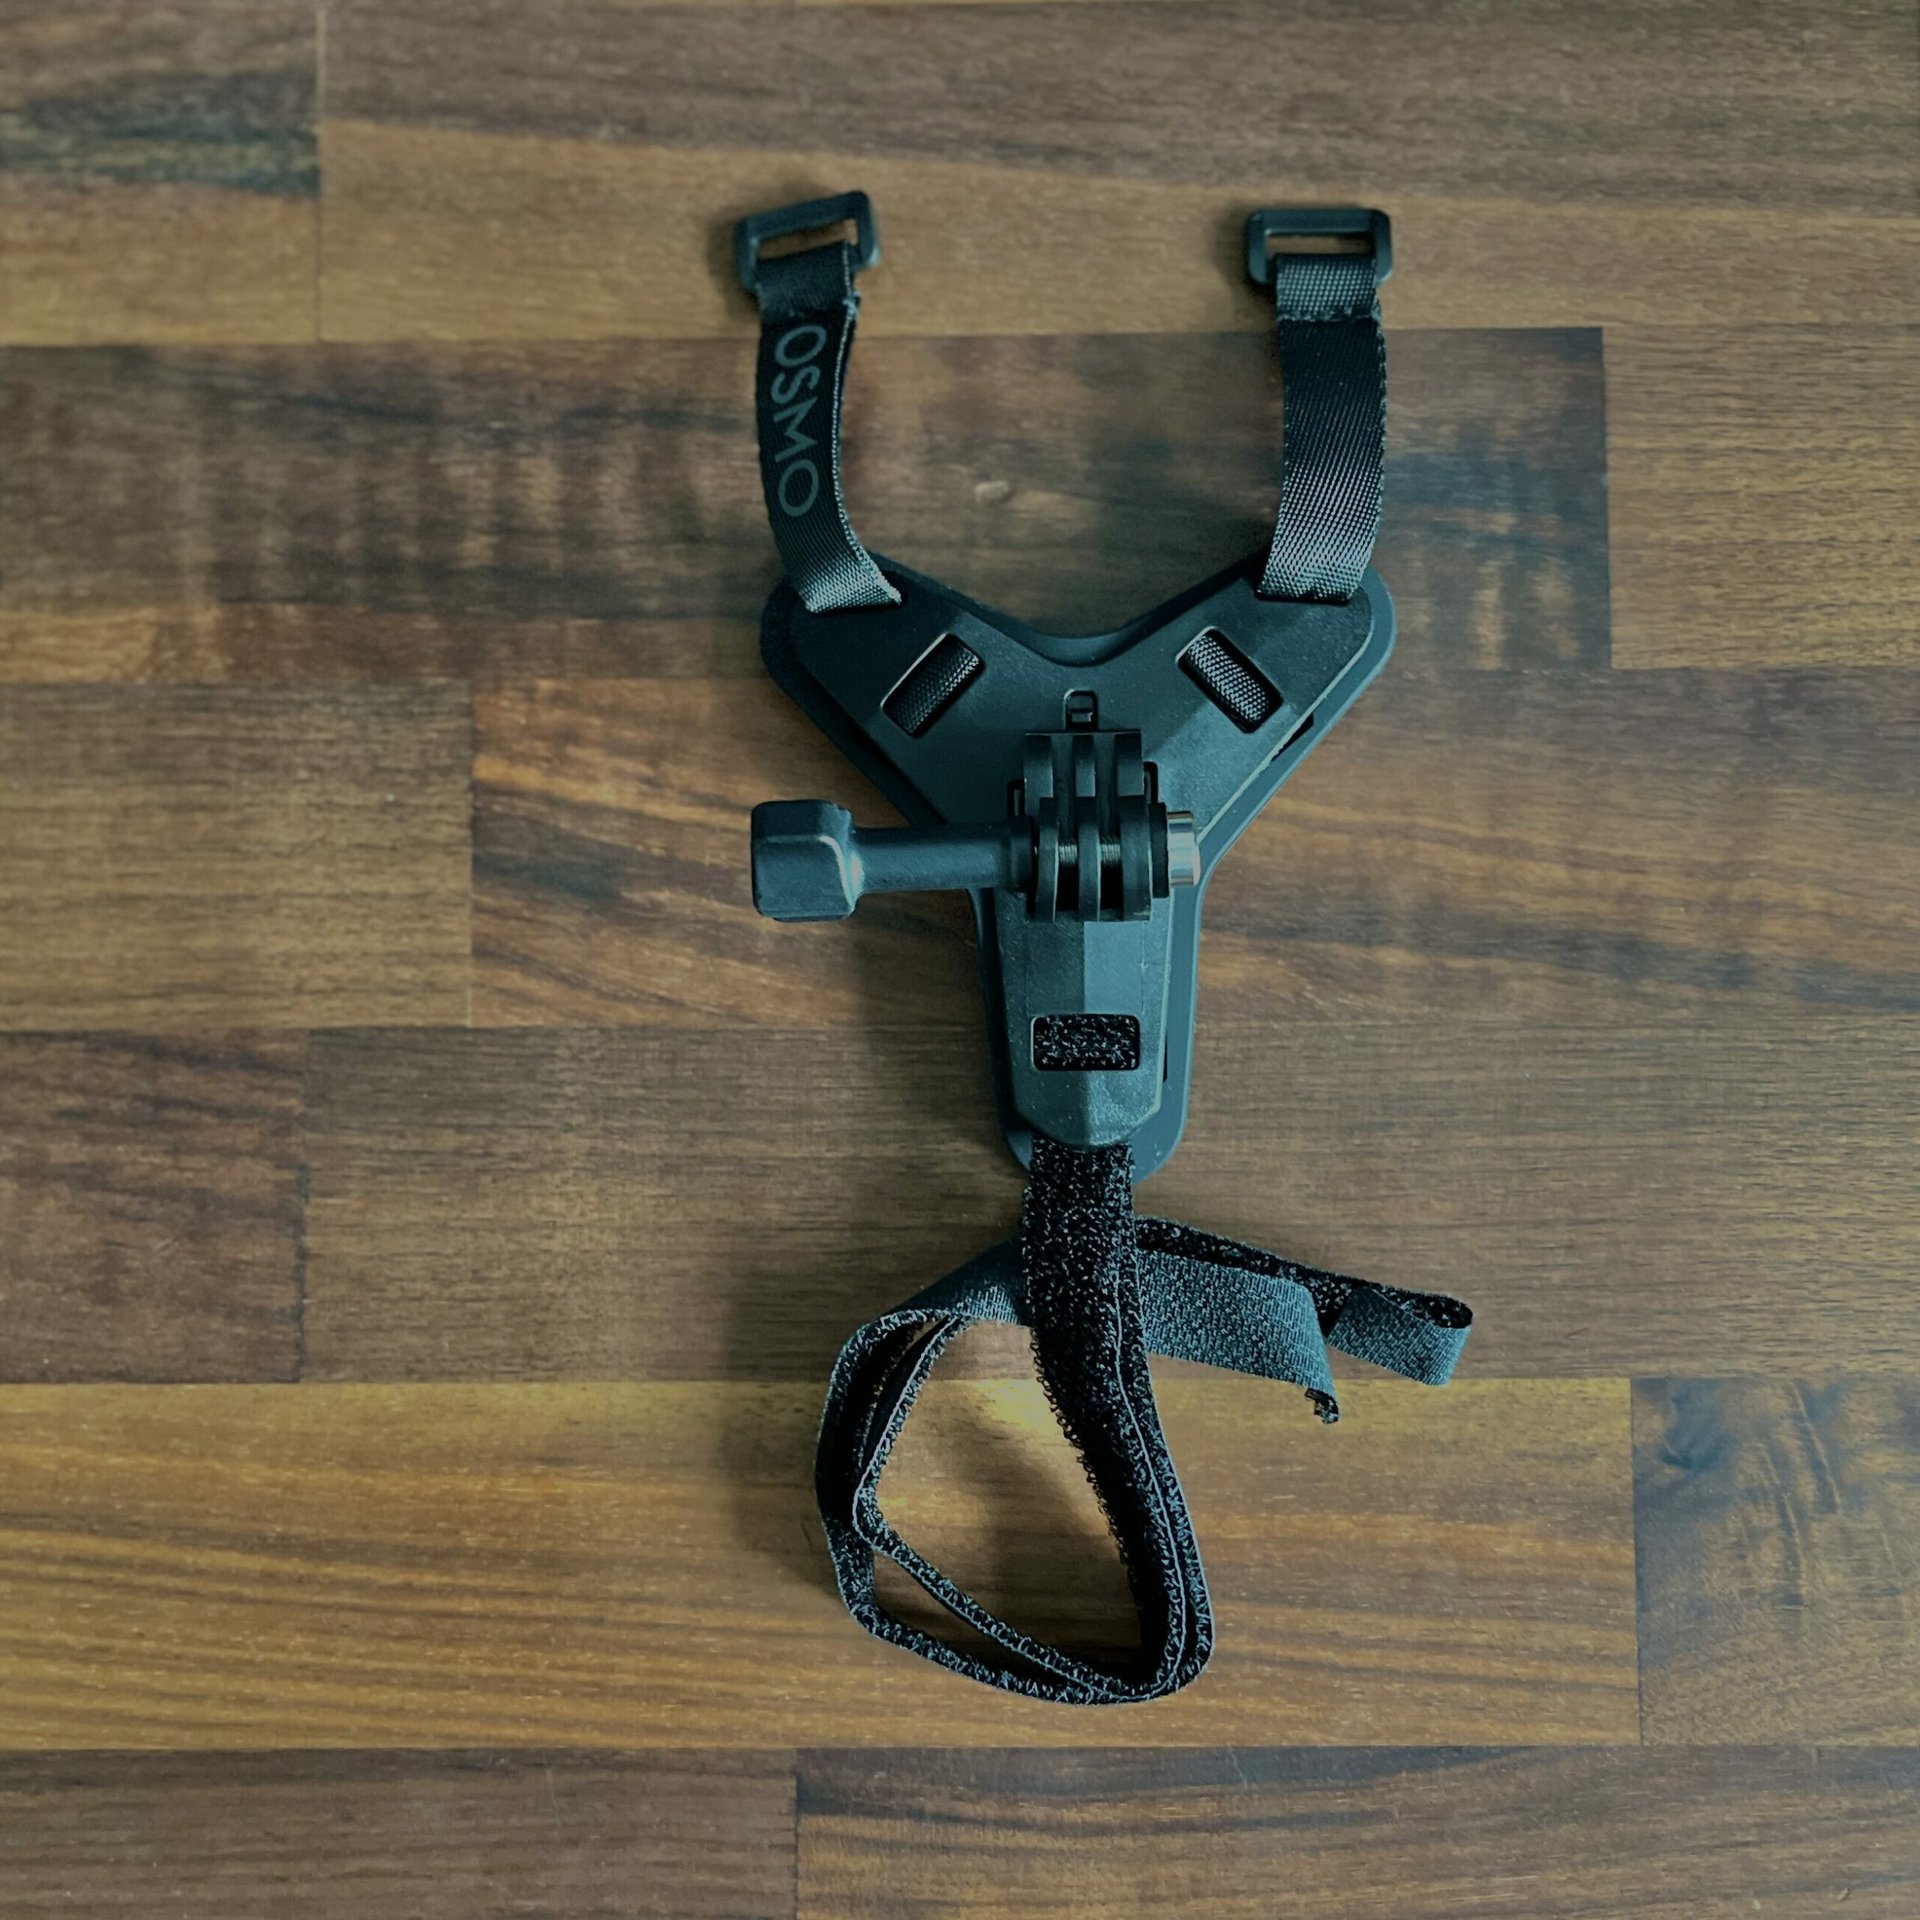
There are tons of chin mounts only differing in price. Almost all feature rubber pads and folding material to conform to different variations of full-face helmets – for mountain biking and motorcycles. I went with DJI’s new Helmet Chin Strap Mount to test it out for myself. The reputable accessory brand HSU also got a very similar one in price and quality (check it out here). Both are very competitively priced and provide an angle that’s extremely immersive.
Helmet Visor Mount: Adhesive Mounting Pads
The good old visor mount is by far the most popular one, however, the footage from it is not my favorite. It’s not always the best angle for the viewer, as per the feedback in comments on my videos. On a half-shell enduro helmet you may have no other choice tho.
Adhesive mounts are the easiest, most reliable, and proven way to mount an action cam. It sticks to helmets, bikes, and any other gear you might want to involve. My preferred spot to put it is below the visor, which is as close to the perspective of the rider’s eyes as possible.
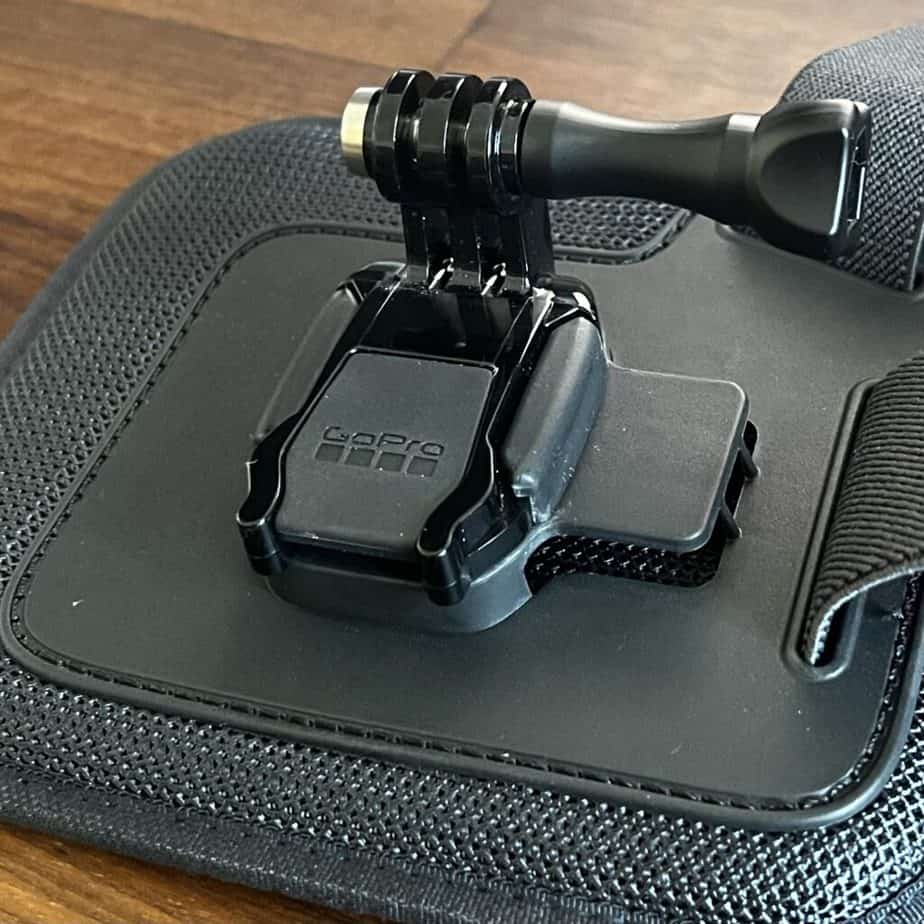
For this, the “GoPro Grab Bag” of mounts has become my go-to. It’s above any other 3M adhesive slider mount for exactly two reasons:
Only GoPro has an extra flat slider that is my go-to for mounting under the visor. It keeps the height minimal and keeps the camera out of my vision. And the rubber grommets on each of the clips reduce noise and prevent unintentional dismounts.
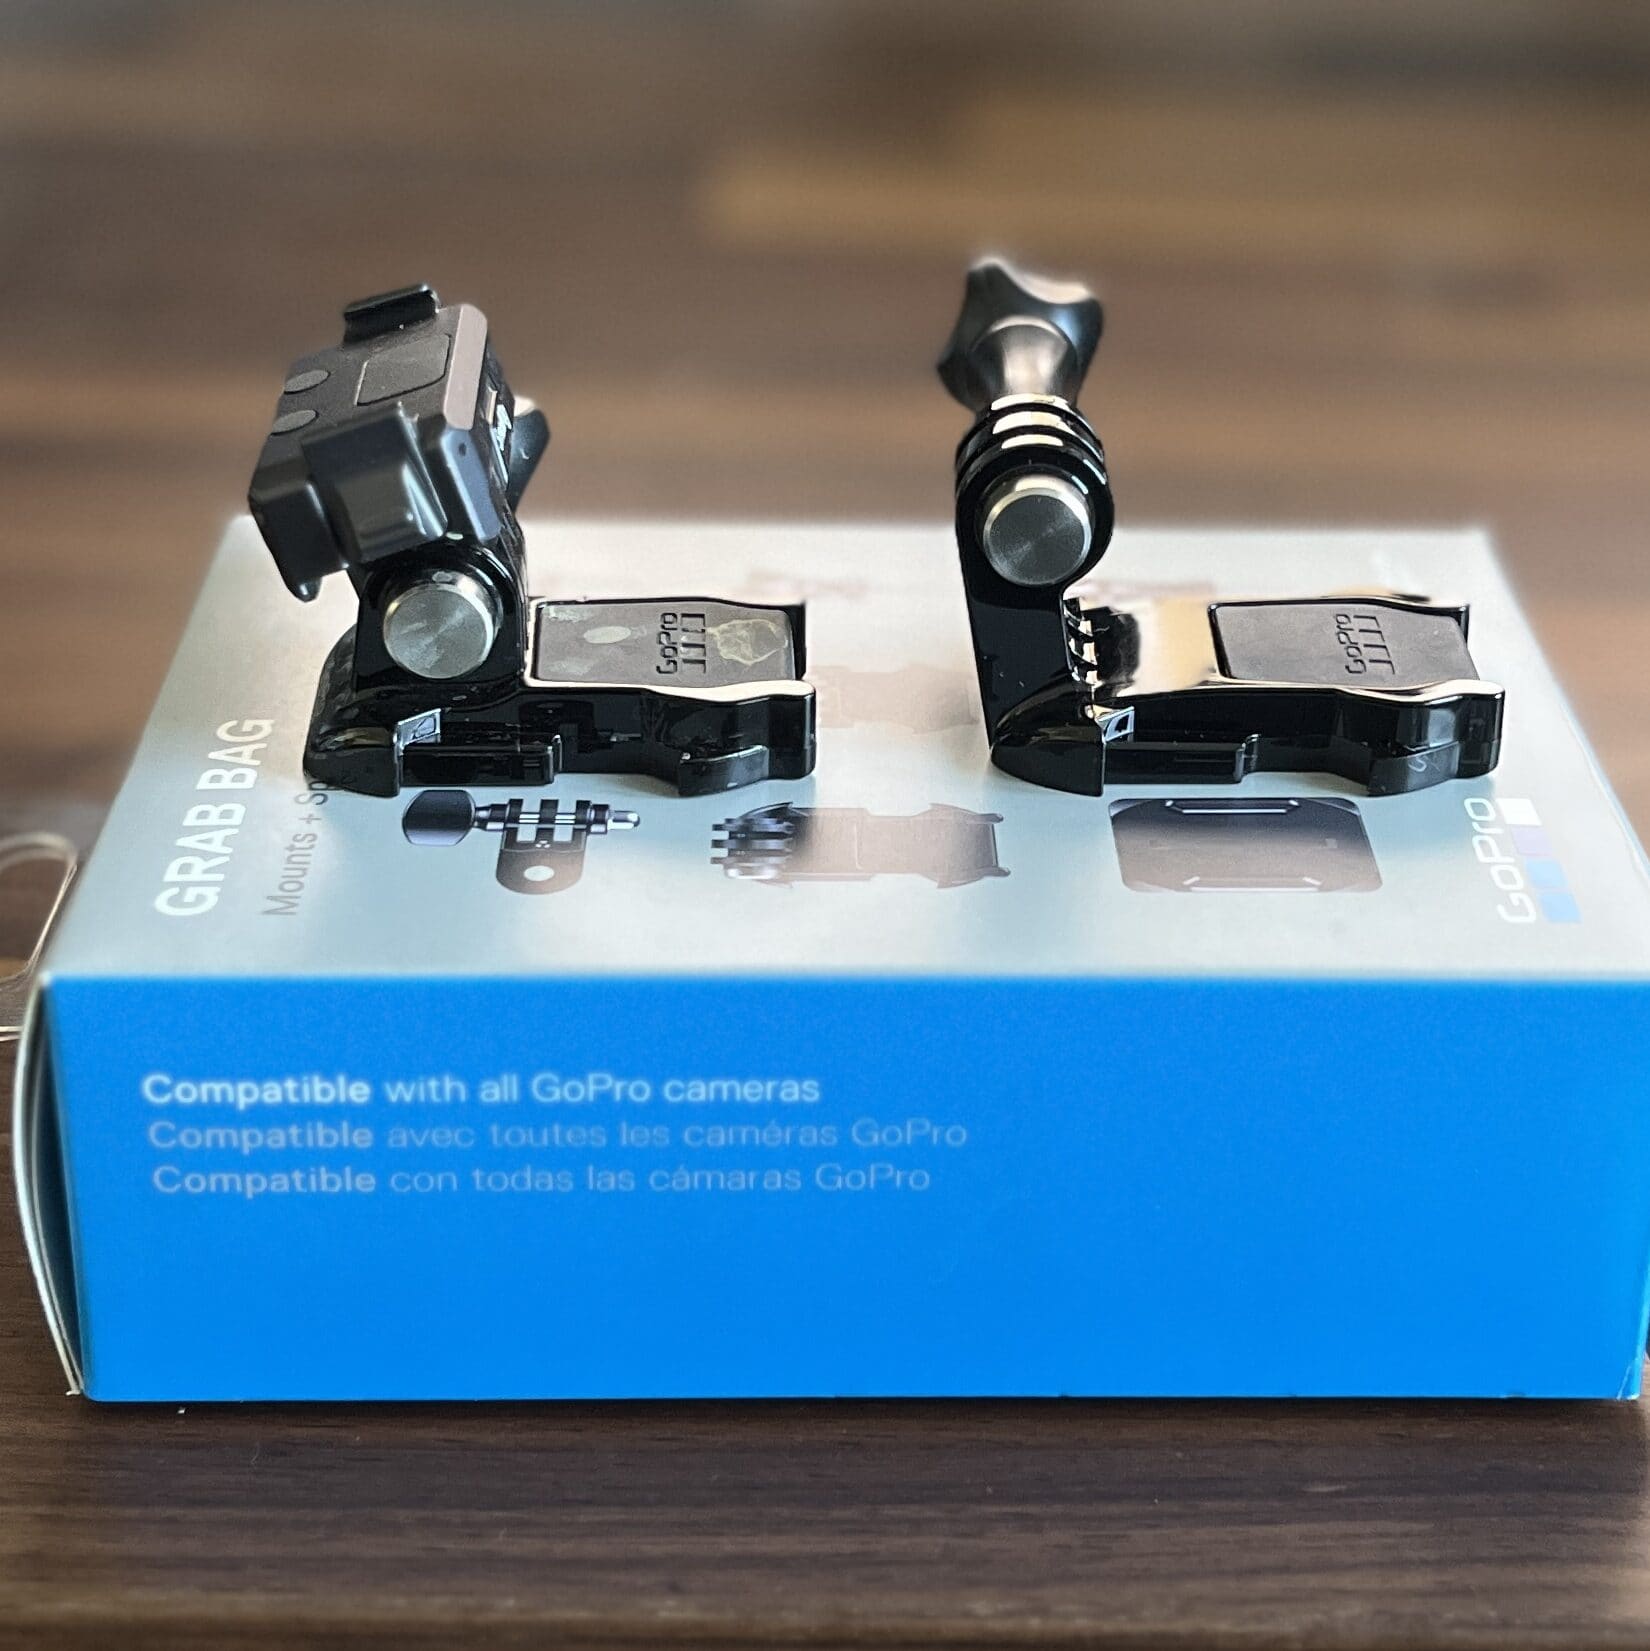
Only GoPro offers the left one.

One of those flat sliders and an adhesive pad are included with the GoPro Hero 11!
Alternate below-visor mount
Another alternative for visors that are tilted or otherwise don’t have a flat spot large enough for a sticky pad is one that sticks to the front of the helmet beneath the visor but provides the same angle. The only company making such things, that I could find, are Ninja Mounts. And sadly, these seem to be only available in Europe.
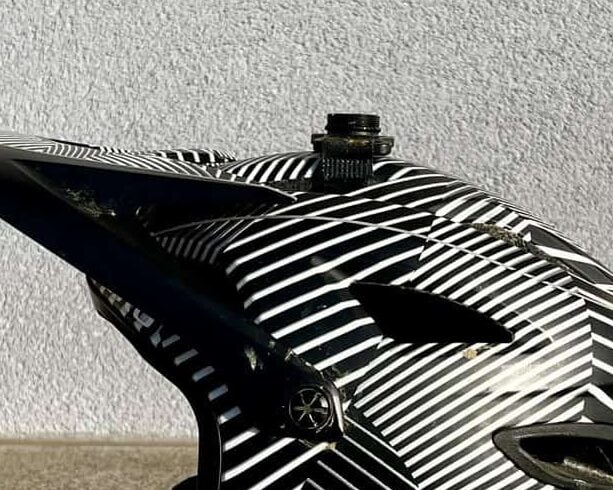
Helmet vent strap
If none of the above helmet mounts work for you, there is still one last option: straps through the ventilation holes on top. I would not recommend this solution over the others as it doesn‘t sit as tightly and moves a little. But it allows for filming with a helmet cam even on half-shell helmets without a peak.
The latch is a hack for easier handling.
Memory storage (SD Card)
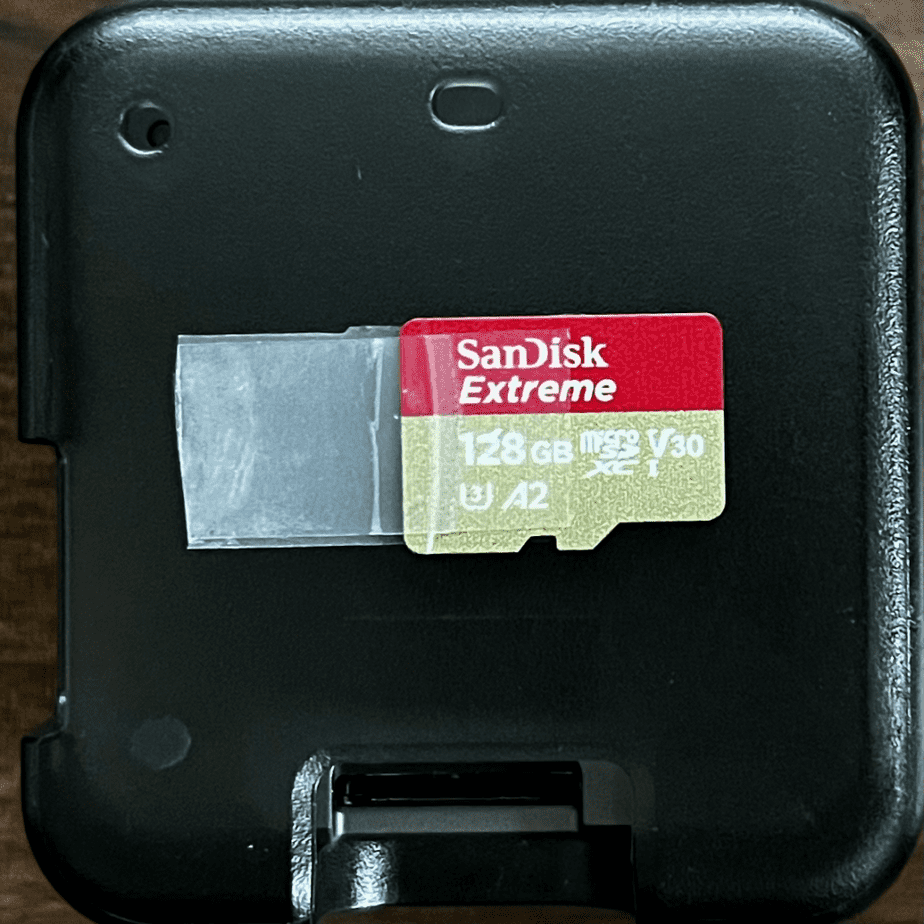
Don’t overlook this tiny, but critical piece in your setup! The GoPro Hero 11 does not have built-in storage. So storage capacity has to come from inserting a microSD card. And SanDisk cards seem to be the most reliable brands for a GoPro camera.
A compatible one has to have fast read and write speeds for 4K footage or high-framerate filming. There are many great brands like SanDisk, Kingston, Samsung etc. out there. Whatever you choose, make sure it’s big enough and fast enough. I went with a 128 Gigabyte card from SanDisk, which lasts about 4 days’ worth of 4k filming for me, and about half that for 5.3K.
Just FYI: 3 minutes of 4K video at 30 FPS take up about 1 gigabyte of memory. While just 1 minute of 5.3K is also 1 GB.
Spare batteries
I consider at least one extra battery a must-have for riders, who plan on filming all day or can’t recharge overnight. There is an official Dual Battery Charger with two extra batteries available. And since the Enduro batteries of the Hero 11 are the same size (but longer lasting) as those of the Hero 10 and 9, there are good deals for single non-enduro batteries out there for sure.

That charging case works with the Hero 11, 10, and 9 Black batteries and it’s an extremely convenient game changer! Operating on only one battery all day is such a hassle and not an option for me as I’d have to pick and choose what to record, instead of picking what to keep at the end of the day. Of course, a comfortably sized SD card is a prerequisite for such an approach.
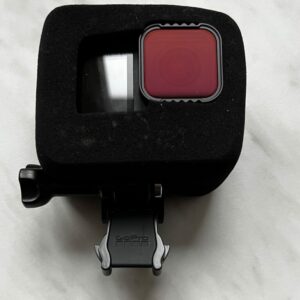
Windscreen
The ones by HSU fit very snuggly around the camera housing.
I consider eliminating wind noise to be essential for the most immersive footage possible. While the GoPro Hero 11 has built-in wind noise reduction, it does so by only using the rear microphone (mono audio!) and distorting the audio. Which is a shame, because the stereo mics are incredible! And there is a way to use them AND eliminate wind noise.
Wind is basically a constant when biking and can sound pretty horrible and jarring. Now there is the pro-level GoPro Media Mod, which features an external microphone with a wind muffler. For just under a hundred bucks, there are definitely much, much cheaper third-party wind mufflers to reduce wind noise.
I went with an HSU Windslayer for two reasons: it fits more snugly because of denser foam, covering the mics reliably. And it’s basically half the price of all the other wind covers with two wind mufflers in the box.
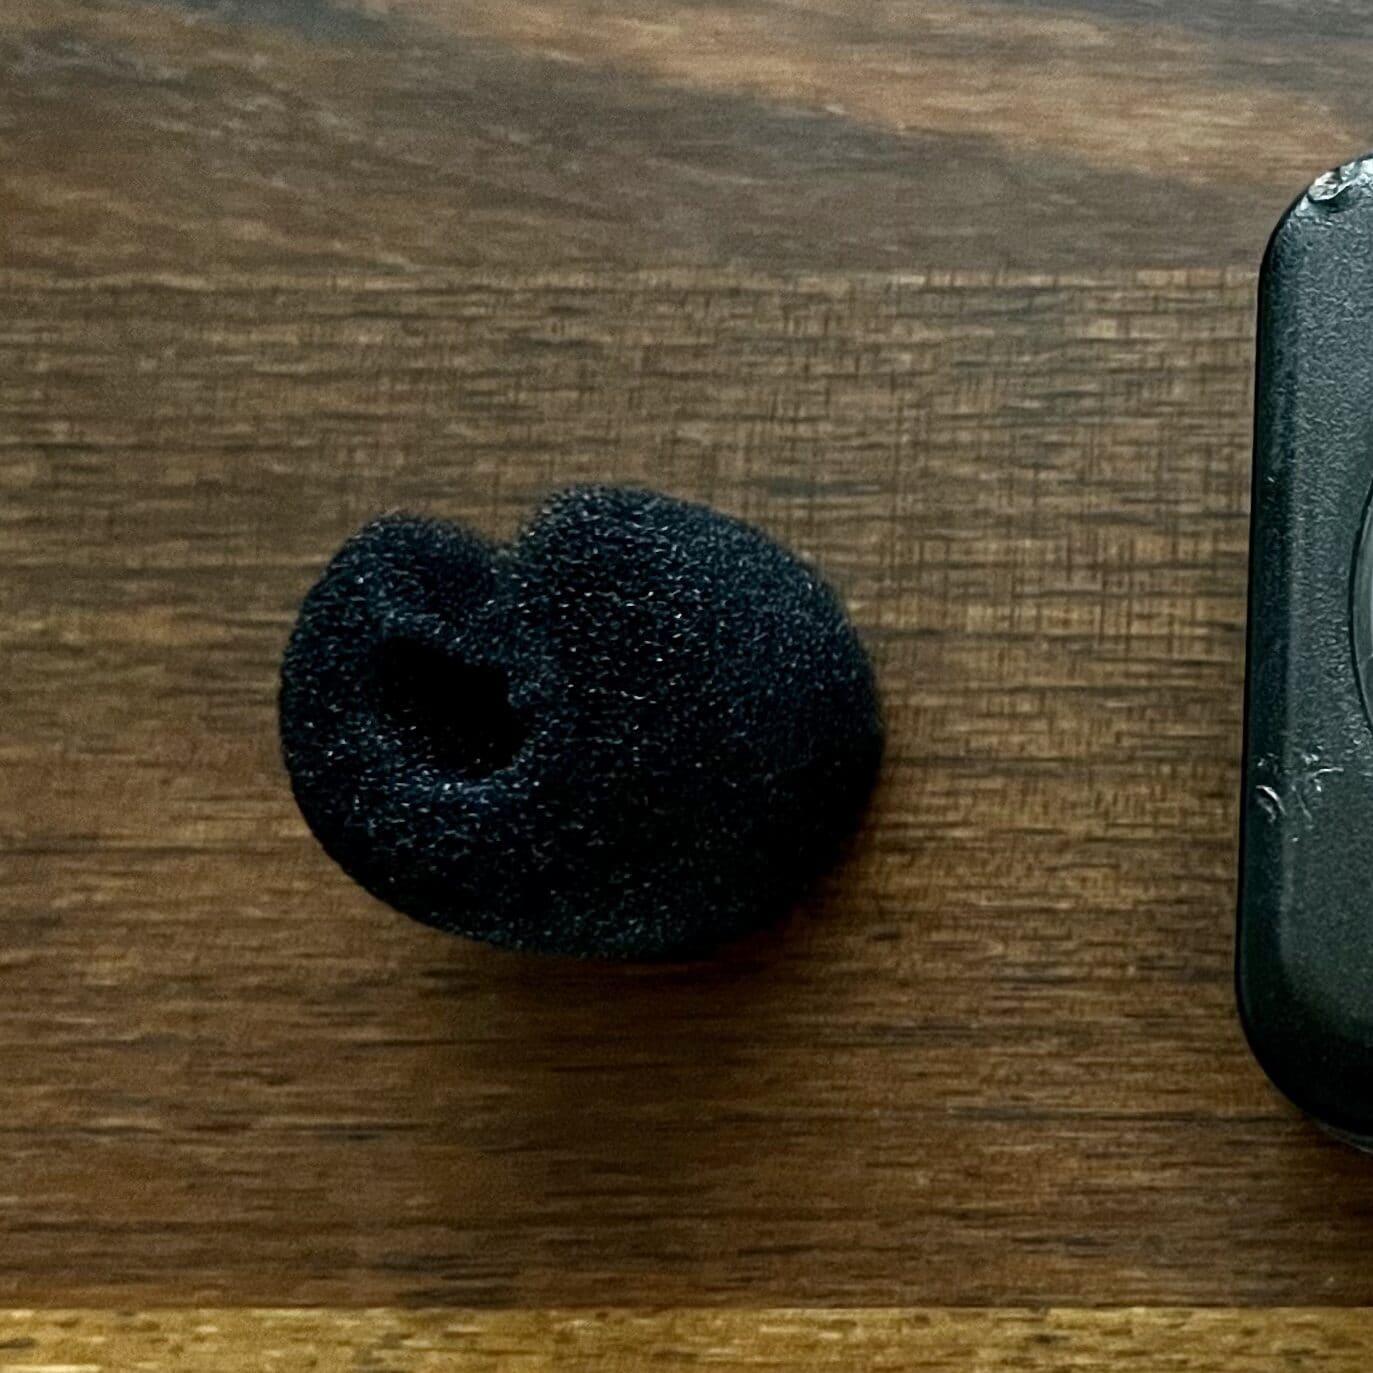
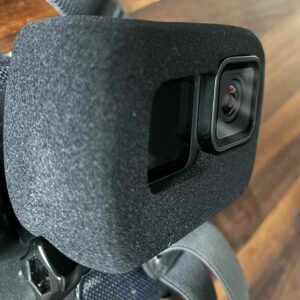
I also have been using a more subtle, but permanent approach to eliminate wind noises: sticking foam over each mic individually. Instead of covering the entire camera in foam, it’s enough to cover only each of the microphone holes with a tiny piece of foam DIY style – foam like from standard microphone covers. That’s what’s used on professional microphones for wind protection. Just get a regular-sized one for cheap, cut off a tiny piece and place it over each of the directional microphones on the camera.
A double-sided duct tape with a hole over the mic is enough to hold it in place. The foam pieces don’t have to be huge either. For sure don’t cover the lens and make sure none of it is visible even in the widest FOV setting.
And that’s how you make the sound of tires, hubs and suspension working even more immersive to listen to.
That’s it as far as the must-haves go for any recreational POV filmer. Below are additional bits and pieces that make filming either even easier or help to keep a high level of consistency.
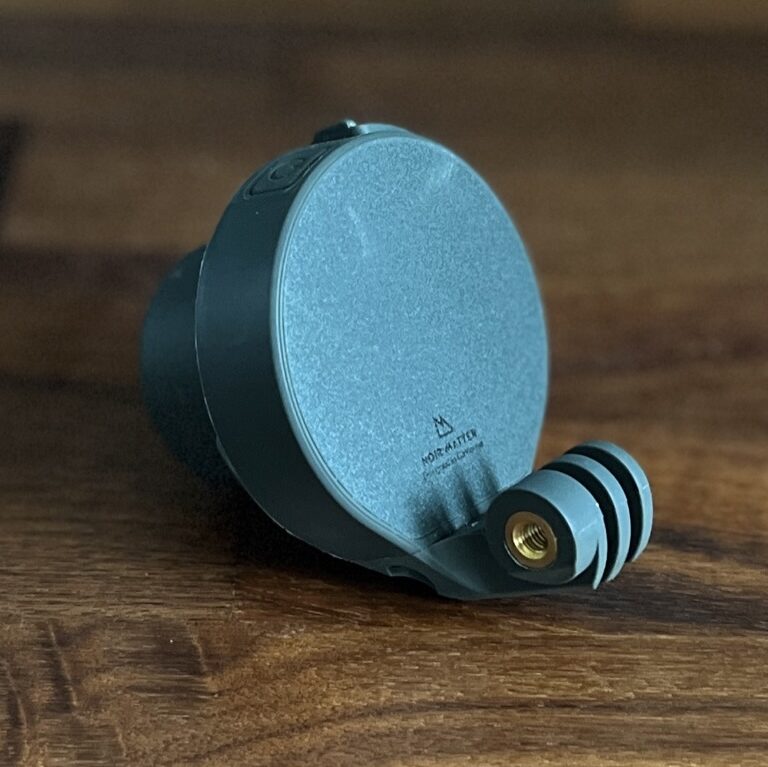
Optional: Protective case (but not for protection)
Tired of using the screws to take the camera off? Can’t find the perfect angle you had before anymore?
Take advantage of the foldable feet on the new GoPros!
The Hero 11 doesn’t really need extra protection, it needs a better attachment mechanism!
GoPro is kind of behind the curve ball in terms of the actual camera-to-mount interface. Especially the magnetic attachment system of the DJI Action cameras introduced with the Action 2 (review here) lifts them above every other action cam in my book.
But there is a way to get something similar for a GoPro camera with foldable feet: a protective case to easily slide into from the side. This way you’ll never have to search for that perfect camera angle regain AND can remove the camera in a matter of seconds (to check if it’s recording, adjust settings, film yourself, etc.)
I’m definitely NOT talking about a watertight diving case here, which will ruin your sound! The original GoPro rigs or cases are kind of expensive too. And the camera is inserted from the back, which is no help on a chest mount.
There are third-party ones like this hard-plastic case where the camera slides in sideways – or an aluminum case by Telesin for twice the price and questionable benefits over the plastic one. Note, that such a case can only be used with one windscreen option: dead cats on only the mics, not a full windslayer.
Optional: Carry case
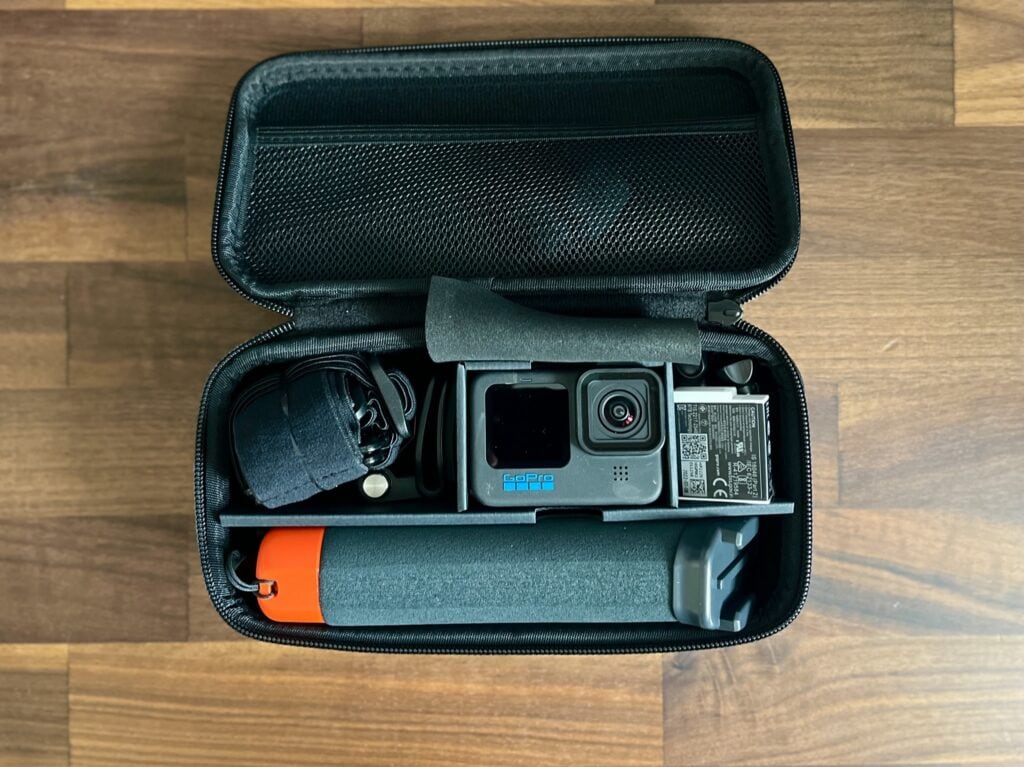
With additional accessories and mounts comes the need to keep all of it organized, in one place and ready to go at any time. And that doesn’t have to be a pain either. A small simple case keeps all that stuff organized in one place and is easy to throw in your backpack or car.
Here it makes sense to not go with the expensive, official GoPro gear since there is no advantage over third-party brands. And there’s an absolutely massive amount of GoPro carry cases on marketplaces like amazon.
Different cases may suit different needs. Depending on what protective frame, how many batteries, and which spare parts you bring, there is a case best suited for you.
For individual aftermarket cases, there are cheaper options.
I got the small, official one with the bundle I got, which I’m reasonably happy with. But it’s too small for what I need to carry. It’s not the most well-priced one either. So, the large carry case by HSU is my go-to now. It’s part of their huge accessory kit, which also comes with a second small case! And that at the price of one official GoPro case.
Optional: Gimbal
While the camera can keep the image dead-pan leveled by itself, the Horizon Lock feature only works in the most narrow FOV – which is mostly useless for MTB.
Horizon Lock is only recommended for follow-cam shots where the rider in front is the main subject. Not for filming your POV as this FOV crops in too much and not only looks unrelatable but also slow.
In order to have the best of both worlds – wide FOV and leveled footage – a gimbal is the only option. While there are amazing 3-axis gimbals out there, a simpler 1-axis one is the better choice for cameras with digital stabilization.
It will only level the horizontal plane (the effect you’re after) but not lag behind in corners like 3-axis ones, which compensate for horizontal and tilt planes.
This is how the resulting footage looks on incredibly rough trails:
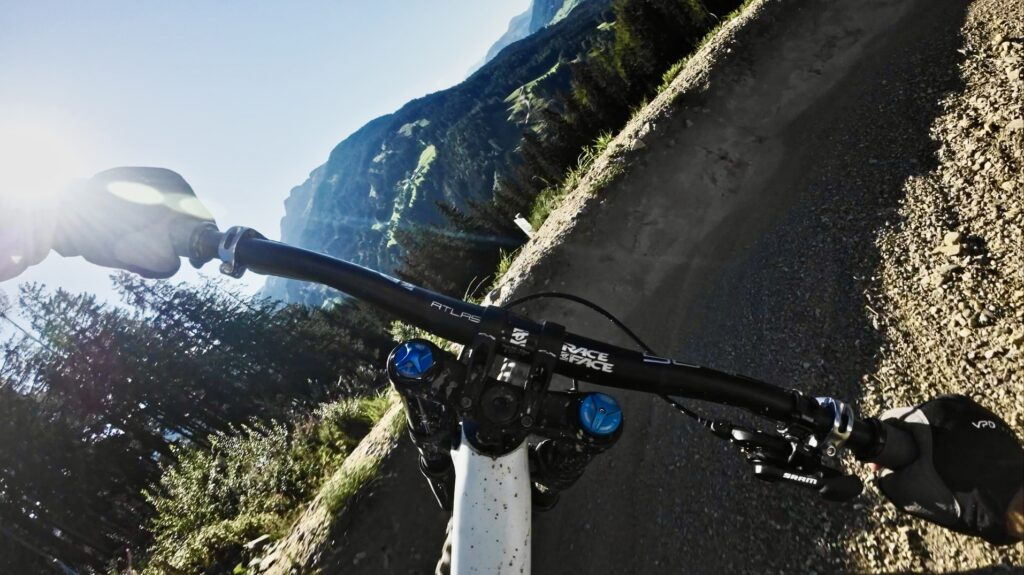
Optional: Handlebar mount
They are pretty bad for forward-facing shots (no reference at all for the viewer) but offer an unusual, interesting camera perspective when facing backwards – towards you. It’s the alternative to wearing a long, clumsy pole on your helmet.
Again, there are lots of vendors out there, but very few got rubber inserts between the clamp and the handlebar, like the GoPro clamp and the DJI mount have, to prevent rattling, damage to the bike and ensure it’s not slipping. Their size may also be large enough for other spicy angles like from the seatpost.
Optional: ND Filter
ND filters produce more natural motion blur, by reducing the exposure, which leads to longer shutter speeds. They do NOT change the colors or contrast like many believe.
As I explain in my guide to the best camera settings for getting pro-level videos out of the GoPro Hero 11, ND filters can result in amazing, cinematic footage, that has an increased sense of speed to it. But only in very specific circumstances and at a compromise.
First, the lighting has to be bright enough if you’re going to reduce exposure with ND filters. They are like sunglasses for your camera. In cloudy weather or in a shaded forest, that is often too dark to reduce incoming light even further.
And secondly, GoPro’s video stabilization works best in well-lit situations.
Can you see the problem? While you get amazing-looking cinematic footage with strong motion blur, its difficult to actually make out details like trail features or surfaces. On top of all that, the video gets pretty shaky without any stabilization or looks wonky with it turned on.
To summarize, ND filters are great, for bright days or smooth trails where an overall impression is enough for the viewer. But not for dark areas, and rough tracks where individual obstacles are important to make out.
There is actually a good selection of custom ND filters specifically for the Hero 11, while Polarpro, Freewell and Skyreat are among the most reputable ones. However, most sets include an ND32 and a CPL filter, which are unnecessary for any MTB application.
Only from Freewell, you can get ND4, ND8, and maybe ND16 separately. These are the only versions that actually make sense for MTB, so there’s no need to splurge on a whole set.
