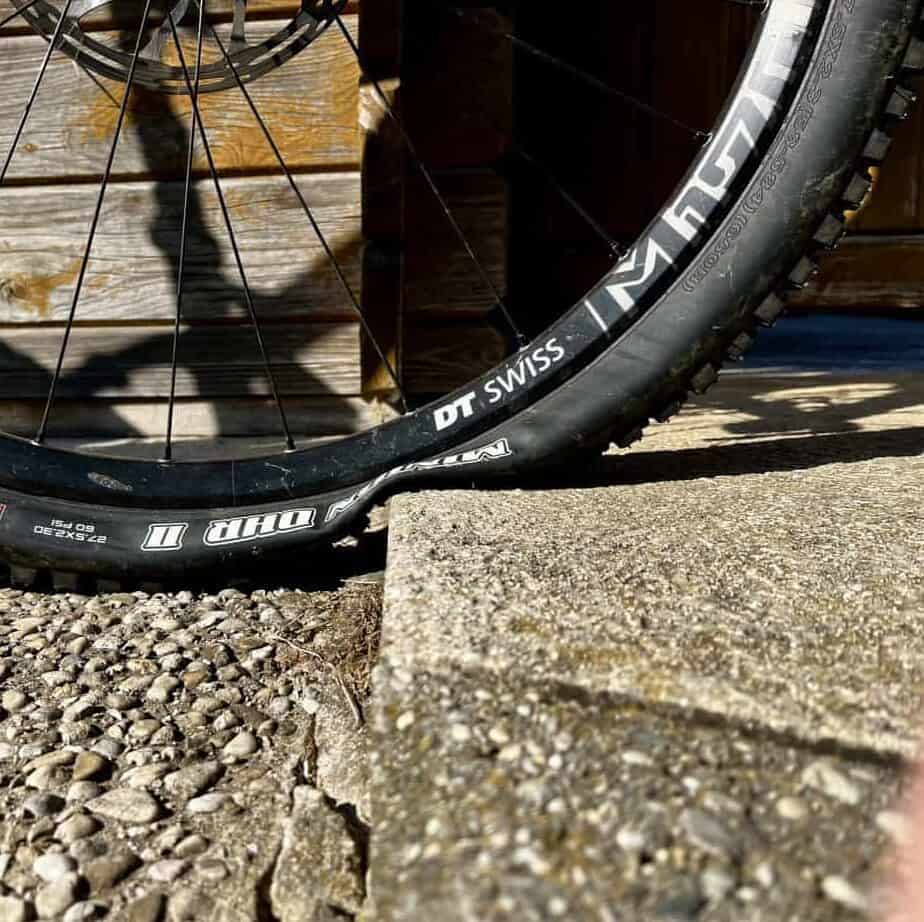
Tire punctures always happen at the worst of times in mountain biking, and can even get quite dangerous leaving you hanging with no traction.
Even worse is when there is no way to repair or swap the tire. Then the ride is over and the walk home is long.
One was a snakebite, the other a puncture by a pointy rock.
There are ways to minimize the risk of flatting your tire. Let’s quickly cover what leads to punctures so we can eliminate them:
- Pinch flat (or snakebites): When the tire and tube are pinched between the ground and the rim.
- Puncture: When sharp or pointy objects puncture through the tire tread or sidewall and the tube.
- Small leaks: When vavle is leaking, the rubber of the tire or tube gets brittle and starts tearing or the rim is damaged.
- Tire burping: On tubeless tires only, burping happens when the tire bead is pulled off from the rim momentarily, releasing air.
The pinch flat and puncture flat are by far the most common ones in mountain biking. And they are easily avoided with the correct preparation.
Correct tire pressures
Check tire pressures before every ride
Bike tires lose air over time – some quicker, some slower. But it pays to check your pressures before every ride. Don’t leave handling and flat protection up to chance.
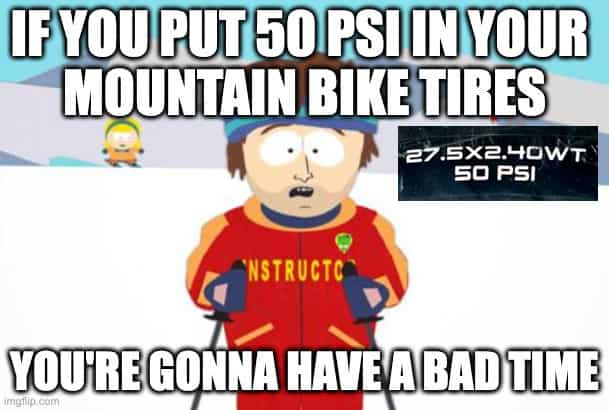
Don’t run tire pressures too low
Low tire pressures are by far the most common reason for flat tires in MTB. It’s the cause of pinch flats, punctures and burped tires.
In MTB you want lower pressures to allow the tire to conform to the ground and really dig in to generate traction where the terrain offers little. But running it too low has two issues:
- The sidewalls get pushed out, making them prone to sidewall slashes.
- The rim can pinch the tire or tube resulting in pinch flats.
- And the tire bead sits looser on the rim so it can be pulled off by aggressive cornering (burping).
Don’t run tire pressures too high either
The reason is that a tire needs to conform to the ground in order to generate traction and absorb bumps.
High tire pressures take away the ability of the tire to conform over sharp edges. Instead, it’s easy to get penetrated.
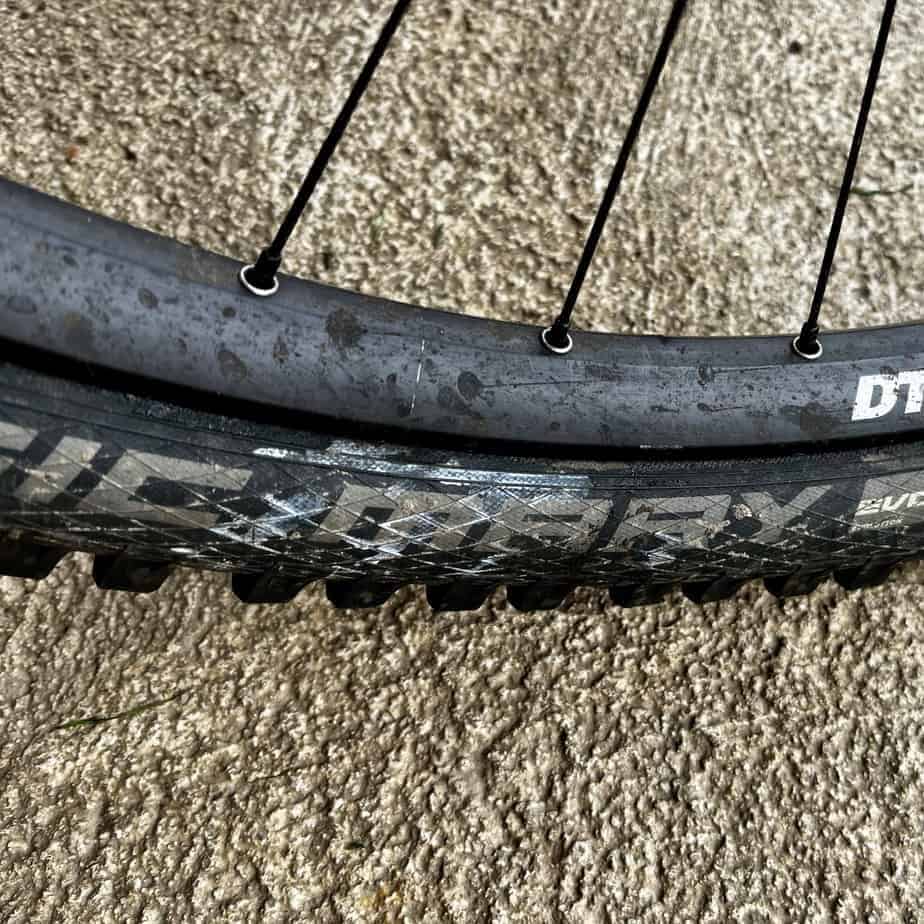
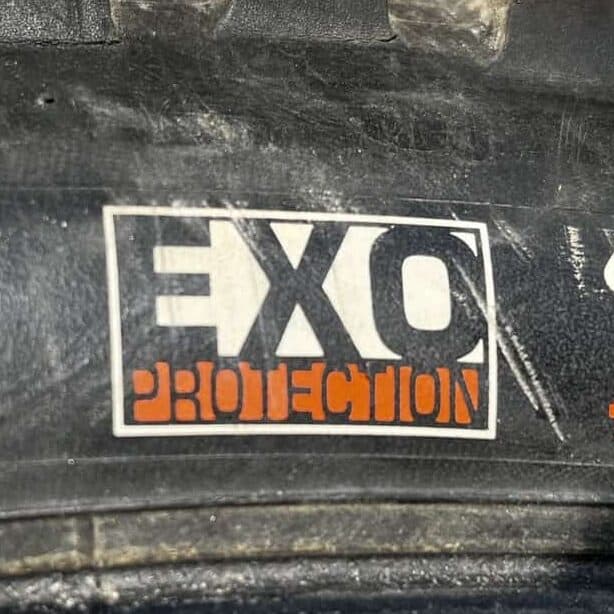
Use strong tire casings
“Protective rubber matters.“
If you ride aggressively with heavy hits, save yourself time, money, and your patience by going for a heavy-duty tire casing – at least in the rear of your bike.
Due to the higher weight and harsher impacts the rear tire has to endure, punctures are more frequent there.

There are basics of puncture protection in MTB casings are as follows:
- None (only found in XC tires)
- Thicker nylon threads for the casing (60TPI)
- Double layered casings (like Maxxis Double Down)
- Sidewall protection only for snake bites (pinch flats)
- or a bead-to-bead layer under the tire tread against punctures.
More sidewall inserts means heavier tire weights. So pick accoding to your riding style.
For any more info, I explain MTB tire casings in detail here.
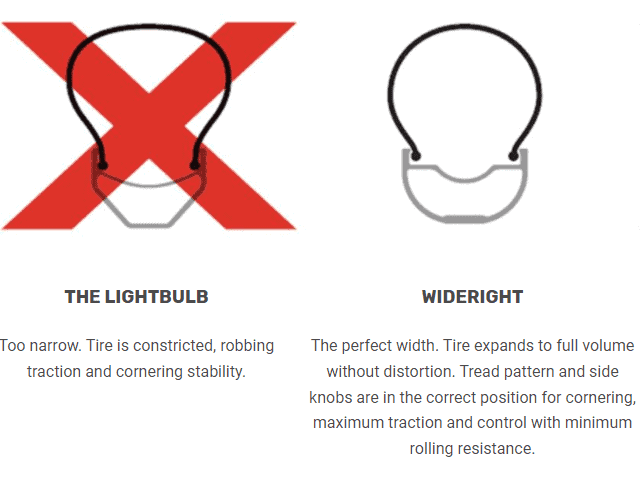
Use correct tire widths for the rim width
Similar to low pressure‚ a rim too narrow can also lead to bulging tires – that are vulnerable to side slashes.
Line choice on the trail
Here’s an innovative tip to not get your tires slashed by sharp edges: Don’t ride over them.
But on a serious note, better line choice out on the trail is a legit way to avoid punctures. You can pick a line, that you know your bike and tires can handle if you encounter an exceptionally rough bit of trail.
Pumping and jumping can help in making the bike lighter over pointy objects and dig into the ground when it’s softer.
This is of course a matter of skill and experience. The better you know a trail, the easier it is to look ahead and recognize trail features in advance.
A hardtail is obviously more puncture-prone than a full-suspension bike due to the lacking ability to absorb impacts through suspension travel. Hardtails need to be ridden at different speeds or on different lines than a fully.
Replace old, brittle tires
It’s no secret that rubber in any form will get brittle over time. Even if the tire tread is still good, your old tire might be showing signs of giving up.
On my trail bike, I ran a tire for close to 4 years. The tire wear was still okay, but it was so brittle that it did not keep air for long and sealant leaked out all the time.
Old tires are one reason for the slowly leaking flat tires or overnight flats. The same can happen with rubber tubes and valve cores.
Replace brittle tubes and old valves
If you feel like your tires are losing air too fast (overnight) it could be down to another issue: The valve stem and tube connection for tube tires or the valve stem and rim interface on tubeless tires.
Tube tire:
A very common area where tubes get damaged over time is the seal between the tube and valve stem.
It’s the frailest part of the entire tube. Like any seam, the seam between the tube and the valve stem is fragile and inclined to start leaking air from the tiniest hole.
Again, the older it gets the more prone it is to getting tears and holes by itself.
Tubeless:
Just give it a shake and put your ear close to the valve. If anything is loose, you could actually hear more air come out.
In the case of air exiting from the valve area, check by tightening that lock nut from where you’re losing your air from.
This may include checking on the valve core too. I had a very sudden change in how well my front wheel could hold air. It wasn’t the nut at the interface of the valve to the rim, it was that the valve core itself was loose.
Switch to tubeless tires with tire sealant
One top hack to eliminate all pinch flats forever is to actually not use tubes anymore and swap to tubeless. And it’s actually easy to do, especially if you already know how to change a tire yourself.
Tire sealant is one of the main benefits of tubeless tires as it manages to keep air in your tires with minimal pressure loss. The other benefits are of course lower tire pressures and lower weight.
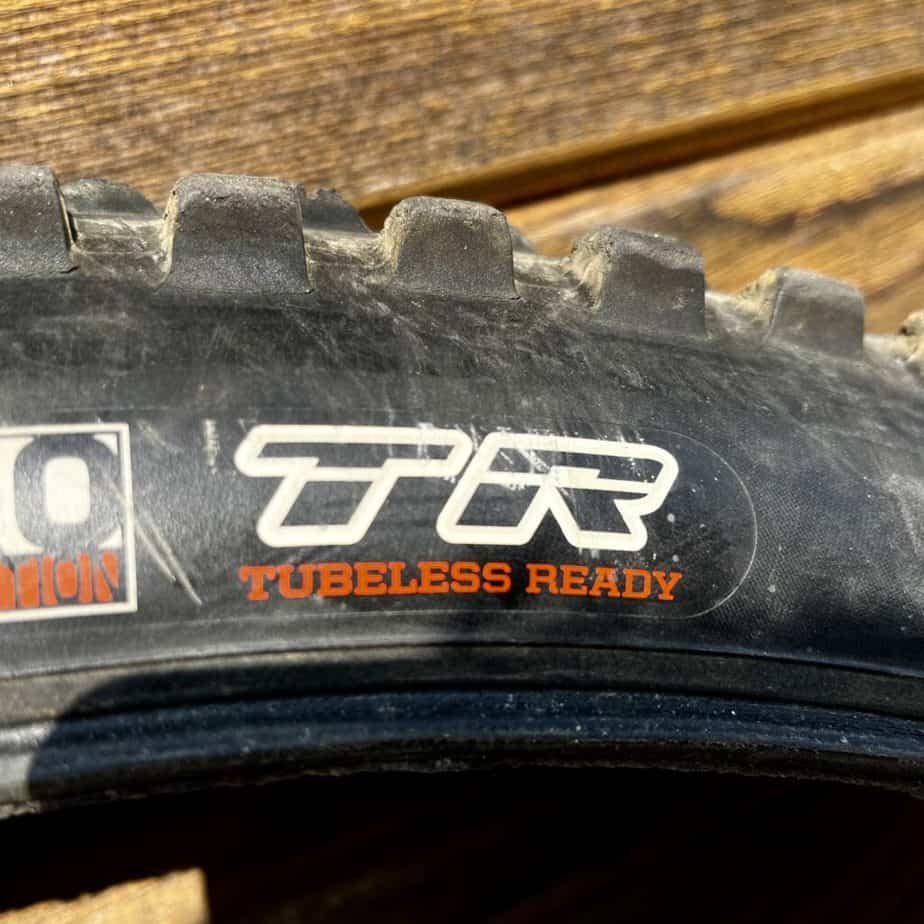
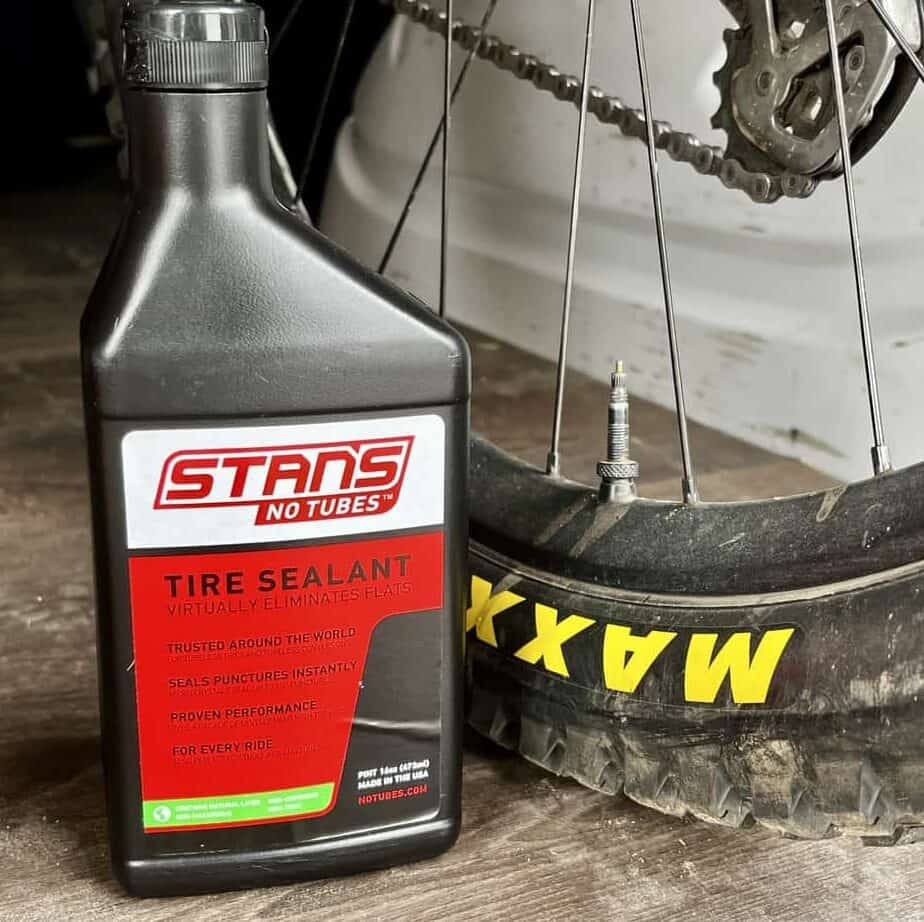
Tubeless tire sealant is optional but highly recommended to automatically seal small punctures.
Use tire inserts with tubeless tires
MTB tire inserts are similar to tire mousse used in motocross: hard foam is installed in tubeless tires. They allow for lower pressures and more traction by reducing air volume and protecting the rim and tire.
If you manage to still puncture the tire, the tire insert will help keep the tire not completely folding. That allows you to safely ride down the rest of the trail without needing an immediate repair stop.
For long enduro rides with technical descents, where mechanical problems can’t so easily be fixed and spares are scarce, one insert in the rear tire may be an option.
